
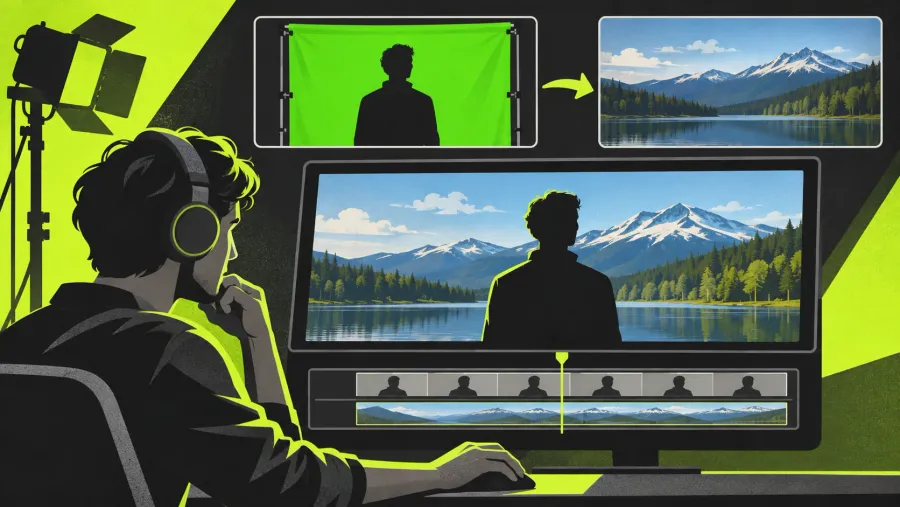
To green screen in Lightworks, put the foreground clip and its replacement background on separate video tracks, add a chroma-key effect to the foreground, then refine the sampled colour until the subject stays solid and the green disappears. I prefer to check the subject before fine-tuning the background because a convincing scene can hide a broken edge.
Lightworks supports chroma keying for green or blue backdrops and combines the remaining foreground with footage or graphics. The v2026.1 interface uses the Effects browser and FX Settings panel. Older tutorials show a VFX tab; the task is still to key the foreground over a separate replacement clip.
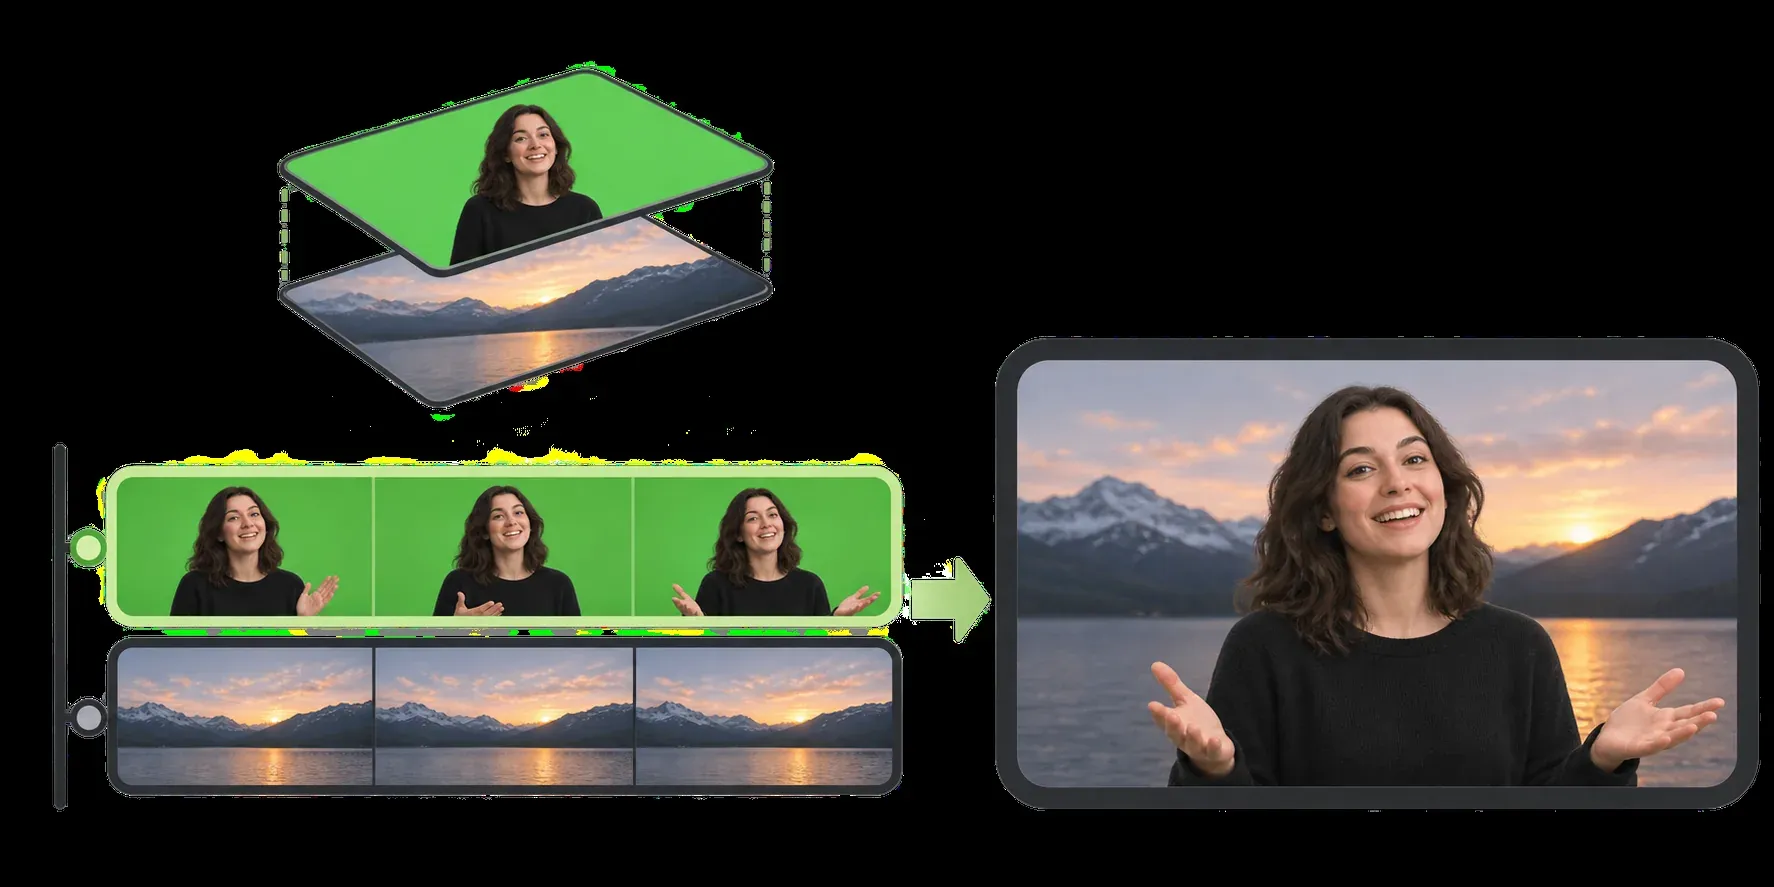
Prepare the two video layers
If you are opening an older project in v2026.1, make a project backup first; the current Lightworks guidance warns that the major update adds project-level information. Start with a short section where the subject is easy to see. A key works best when the background is lit evenly, the subject is separated from it and no part of the subject uses the colour you plan to remove. The editor cannot recover detail that was never recorded, so a flat, clean frame gives you more room than a badly shadowed one.
- Import the foreground and replacement. Bring the green-screen clip into the project, then add the image or video you want behind it. Use the same sequence for both so the result can be reviewed at the intended frame rate.
- Place them on separate video tracks. In the current track model, higher-numbered video tracks sit above lower ones, so put the foreground on a higher track such as V2 and the replacement on V1. If the viewer shows only the background, confirm that the foreground is on the higher track and that its Monitor button has not hidden it.
- Match the duration. Trim the replacement plate to cover the part of the foreground clip you intend to use. A still image can cover the whole passage; a moving background needs enough frames for the complete shot.
- Park on a representative frame. Choose a frame that includes hair, clothing and a shadow if those details matter. Do not tune a key on an empty corner and assume it will hold across the shot.
For a picture-in-picture layout or a crop around the subject, the current sequence and track guidance explains the layer model; the existing video-overlay guide covers the separate positioning decision. Keep that work after the key is readable; scaling a bad matte only makes the defect harder to spot.
Add the chroma-key effect
Find the chroma-key effect in the Effects browser, then drag it directly onto the foreground clip. Adjust it in FX Settings. The official Effects Overview distinguishes clip effects from track effects and confirms that disabling or removing an effect leaves the source media unchanged.
For the classic Chromakey panel, the Lightworks 2020.1 user guide shows an eyedropper: drag it onto the backdrop and click to sample. Its Hue, Saturation and Luminance ranges define the colours selected for removal.
- Choose colour keying. Pick the effect that removes a selected colour from the foreground. Luma keying removes areas by brightness, so it is not the first choice for an evenly lit green or blue backdrop.
- Sample the background colour. Set the key colour from a clean part of the backdrop, away from the subject's edge. In the classic panel, use the eyedropper described above. Avoid a deep wrinkle or shadow for the first sample; widen the selected range only after checking that the subject stays solid.
- Watch the subject, not only the hole. The first pass should remove the broad background while leaving the face, hands and clothing opaque. If the subject starts to dissolve, undo the last adjustment and sample a cleaner area before widening the range.

Check the subject before polishing the composite
Use the composite as the deciding view. The replacement should show through the backdrop while the subject stays solid. Toggle the key off and on to compare the outline with the source. The matte is the transparency pattern made by the key; a black-and-white preview is optional. In TechRadar's 2017 Green Screen walkthrough, Reveal marks removed areas in white and retained areas in black. That describes the older effect's preview, not every matte view.
Make one change at a time. Widening the colour range can remove leftover green, but it can also make a similarly coloured shirt disappear. Increasing softness can hide a harsh edge, while too much softness leaves a halo. My default is to keep the range narrow so removing leftover green does not erase parts of the subject.
The official feature overview lists masks alongside keying, but a selective-effect mask limits where a correction applies; it does not automatically make the rest of the picture transparent. For a stand or unlit strip at the edge of the frame, crop the foreground clip only if the subject stays inside the remaining area throughout the shot.
Clean edges and green spill
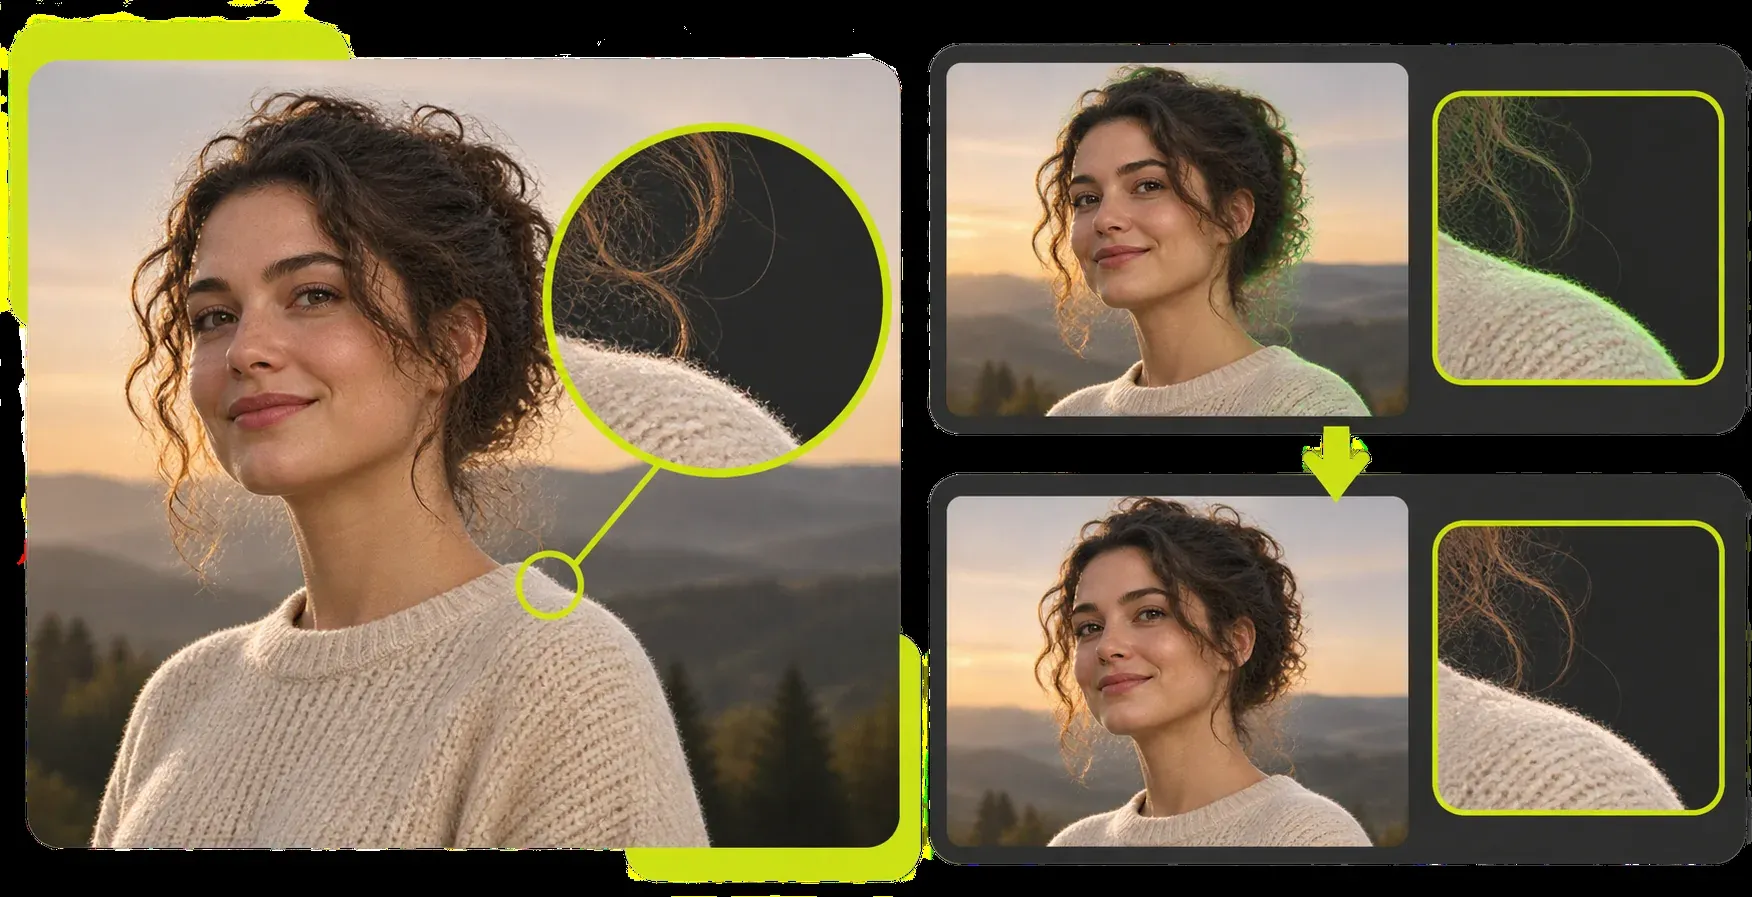
Once the subject stays solid, inspect the areas that reveal a weak key fastest: loose hair, translucent fabric, fingers and the shoulder line. A thin green rim usually means the colour range or spill treatment needs attention, not that the replacement background is the wrong file.
- Check the edge at normal viewing size. A close zoom can make a one-pixel transition look catastrophic. Review the shot at the size your audience will see, then zoom in only to find the source of a visible defect.
- Neutralise reflected green. If the backdrop is gone but green still tints hair or clothing, use spill correction before widening the transparency range. The classic Chromakey panel includes Remove spill; increase it only until the green tint is neutral. Too much correction can add a purple cast, so compare skin and fabric with the original.
- Check motion. Play through a few seconds with hair and hands moving. A key that holds on one still frame can break when the subject crosses a shadow or changes distance from the screen.
Fix a doubled background or wrong effect order
If the replacement scales with the foreground or appears twice, inspect the effect chain before changing the key. Lightworks processes effects in stack order, and Video Routing shows the connections between them. A 2022 forum discussion of a doubled background identifies a DVE after the key that scaled the entire composite. For a resize of just one layer, check that its transform feeds that layer into the key rather than resizing the key's combined output.
Position the background and check the shot
After the key is stable, adjust the replacement plate. Use the effect stack and the clip's framing controls to scale or reposition it, keeping the subject's eyeline and light direction believable. If you need a more complex chain, Lightworks' Video Routing panel can show how effects feed one another; ordinary green-screen work usually stays clearer in the regular effect stack.
Keep the key on the foreground and the background as its own clip. That makes it easy to swap the plate, compare the original and disable the effect while diagnosing a black or missing picture. If the finished viewer is black after the change, the site's black-video checks start with the selected source and track state rather than with more key adjustments.
Export and verify the result
- Play the full intended range. Look for edge pops, a background that ends early and a foreground that slips out of alignment.
- Export a short test. Mark a short range in the finished sequence. Open the timeline's Tools side menu and choose Export to reach the Export panel. Confirm the sequence and marked range as the source, then check the delivery preset and output location. A short test catches a missing track or wrong source before a full render.
- Restore the delivery range and export. Play the short test outside Lightworks. If it looks right, return to the sequence and reset the In/Out marks to the complete intended delivery range, or choose the whole sequence in the Export panel. The current plan comparison lists Free export up to 1080p, while Create and Pro add higher resolutions and formats, so confirm the licence ceiling before a long export. Start the full export and wait for it to finish.
- Open the final file outside Lightworks. Confirm that it covers the full intended duration, the subject stays visible and the replacement background and edges match the composite.
- Compare the rendered frame with the editor. If the export differs, check the export source and effects state before rebuilding the key. For a general export failure, use the export-failed diagnosis.
Green screen work is finished when the matte holds during motion, the composite reads at normal size and the exported file keeps the same result. Save the project with the foreground and replacement clips intact so a later background change does not require rebuilding the key from memory.