
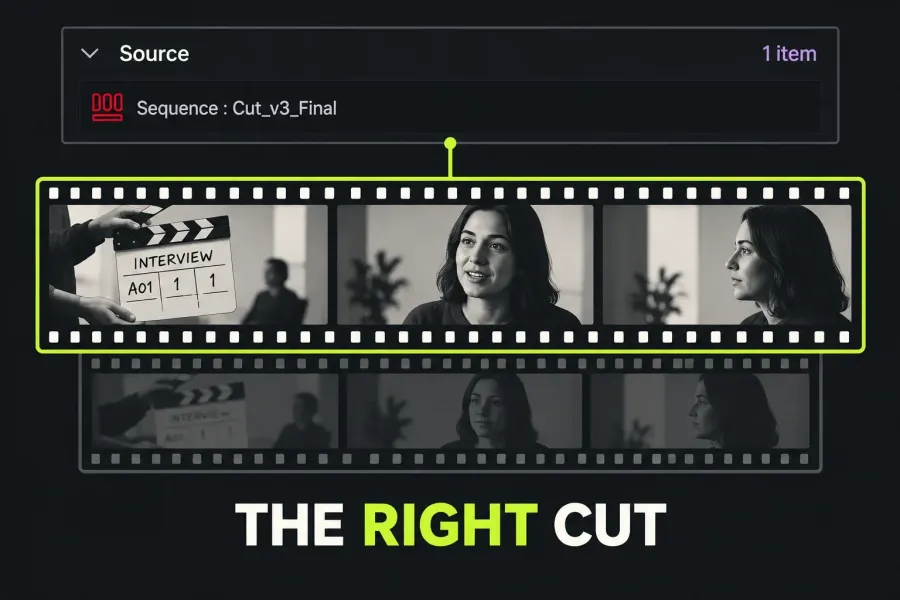
Expand Source in the Export panel and read every queued entry; if the queue is uncertain, use Clear Export List, add only the intended sequence and check its whole or marked range before starting. A finished timeline in the viewer doesn't mean it's the only item queued. After rendering, open the new file from its destination and confirm that it contains the right edit.
The Source List workflow below follows the LWKS Export overview. It describes the single Export panel and Export layout in Lightworks 2026.1; earlier builds don't have that combined panel.
Identify the sequence and every queued item
Open the cut you mean to deliver and check its name, opening, ending and a distinctive edit that separates it from an older version. Lightworks can export a sequence, clip or subclip. Choosing a camera clip with a similar name is a different source choice, even if that clip appears somewhere in the finished sequence.
In the documented Export panel, expand the Source area and read every entry. Check the available item count as well as the names. The Source Export list supports multiple queued items; seeing the final cut in that list does not mean the other entries have gone.
For example, suppose you want one file from Cut_v3_Final, but the queue contains these three objects:
| Example entry | What it represents | Part of this one-file delivery? |
|---|---|---|
| Rush_07 | A source clip | No |
| Cut_v2 | An older sequence | No |
| Cut_v3_Final | The intended finished sequence | Yes, after checking its range |
The names are only examples. What matters is the difference between source footage, an old cut and the intended cut. In the documented Export layout, loading a clip or sequence into the viewer adds it to the Export Source list, so inspecting several objects can accumulate entries. Recheck the list after changing what you load.
Rebuild an uncertain queue for one deliverable
For a single deliverable from an uncertain queue, I'd rebuild it with the documented Clear Export List and Add to Export List controls rather than guess which entries to keep:
- Use Clear Export List. This empties the export queue without deleting sequences or media from the project.
- Explicitly select the intended sequence. In the project's contents, select Cut_v3_Final rather than leaving the selection empty or selecting several objects. Confirm that it is the version whose opening and ending you checked.
- Use Add to Export List. Add the selected sequence. With nothing selected, this command adds whatever is loaded in the source viewer, which may be a camera clip instead.
- Read the queue again. For this one-deliverable example, confirm that only the intended sequence is listed. Check both the name and count, then verify its range. Do not infer the result just from having pressed Add.
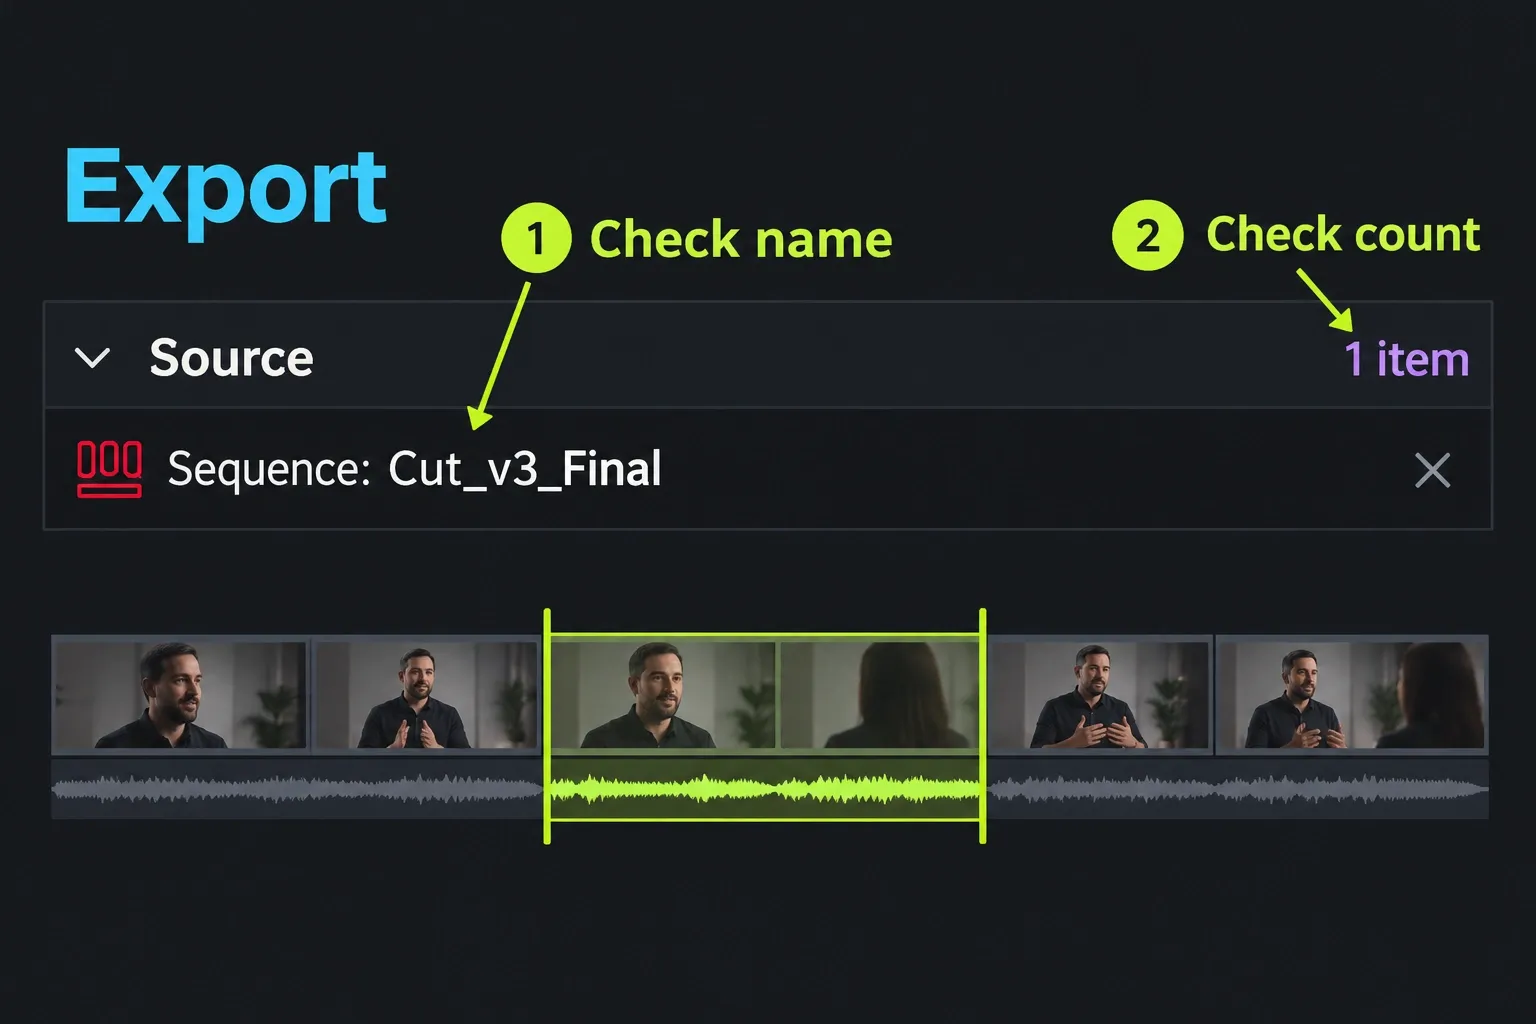
Reveal Timeline loads the current active sequence into the viewer. You still need to check the queue for other items. The separate refresh icon restores the default export source; it is not the same command as Clear Export List. For a deliberate batch, retain the intended set and check every entry rather than applying the one-item example blindly.
Choose the range of that sequence
Object and range answer different questions. Cut_v3_Final identifies the edit; the whole-item or marked-section choice determines how much of that edit is exported. A marked middle section of the correct sequence is still incomplete if you promised the whole film.
For a full delivery, verify that the selected range includes the intended beginning and ending. For a review excerpt, deliberately set the required section and note its expected duration. Marks left from an earlier task were set for that task, so I'd check the export's range every time instead of trusting them. Both range choices refer to the same sequence; the cuts themselves do not move.
If an unexpected blank tail is included, I'd inspect the intended range before touching the edit. Deleting gaps changes the timeline and isn't the default fix for an unsuitable export range, while intentional pauses, gaps and black frames should stay.
Finish the object and range checks before choosing an Auto start preset, which begins exporting immediately. Skip Auto start when settings and destination need careful review: in the full-panel workflow, the export starts only when you press Start after the checks below.
Check originals, settings and destination
For a master, confirm that every original used in the delivery range is accessible to Lightworks and is the correct recording or version. Proxy playback, a visible filename or one sharp-looking shot does not confirm this for the rest of the cut. The focused proxy guide warns that offline originals can leave export using available media. Resolve offline originals first instead of waiting to see whether a valid proxy file or a particular warning turns up.
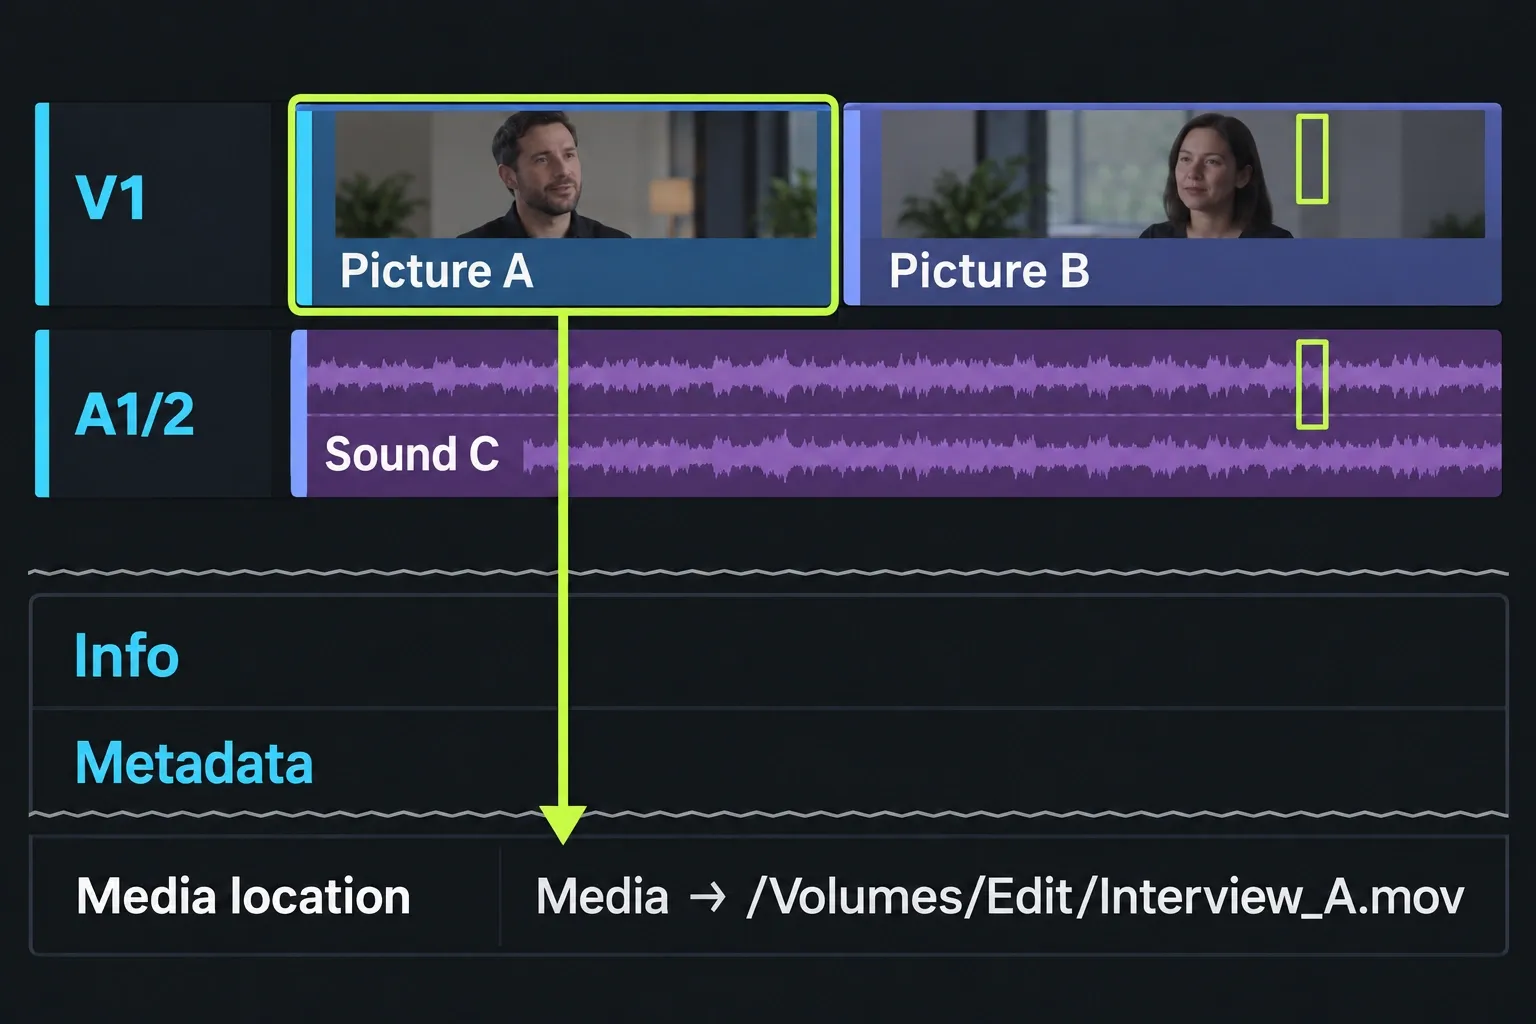
If source access or identity is uncertain, complete the original-media check before master export, then return to the queue and range. A correct sequence selection and usable source media are separate requirements.
Choose the delivery format, resolution, frame rate and quality required for the job. LWKS documents MP4 as the default and available formats as licence dependent. Check which options your plan and build offer. The export settings guide covers those choices in detail once the source and range are settled. Confirm the intended video Monitor/Solo and audio Mute/Solo states: the mixed export respects those choices even when a sequence is exported directly from a bin.
Set or confirm the actual destination and use a name that distinguishes this output from older exports, such as Project_Cut_v3_Final.mp4 for an MP4 delivery. LWKS recommends including the project, version and format in the filename. Record the destination you choose so you can open that file afterwards.
When the queue, ranges, originals and settings are ready, use the full-panel Start flow and complete its save-location step as prompted. The LWKS Quick Start export instructions place Start and the choice of save location together. Confirm the requested location instead of assuming an older destination will be reused.
Wait for completion and check the new file
Starting the job is not completion. The Tasks page shows background-job status and progress, with completed work recorded in Tasks Log. A running, pending or paused job still needs attention before you treat its output as a finished delivery.
If the task reports an error, read it before retrying. LWKS documents reconnecting or relinking originals for an offline-source error, and freeing space or choosing another drive for a disk-space error. A different reported failure needs its own diagnosis; rebuilding the source list will not fix every export failure.
After completion, open the actual new file from the chosen destination and check it against the intended sequence:
- Identity and version: confirm the filename and a distinctive cut, title or transition that separates the final edit from the old version.
- Range and completeness: compare duration, opening and ending with the whole item or deliberate marked section. Review the file throughout; a correct first shot does not tell you whether later content is present.
- Picture and sound: check the expected image, audio presence and sync, including repaired-source sections and the ending. Task completion alone does not confirm those editorial choices.
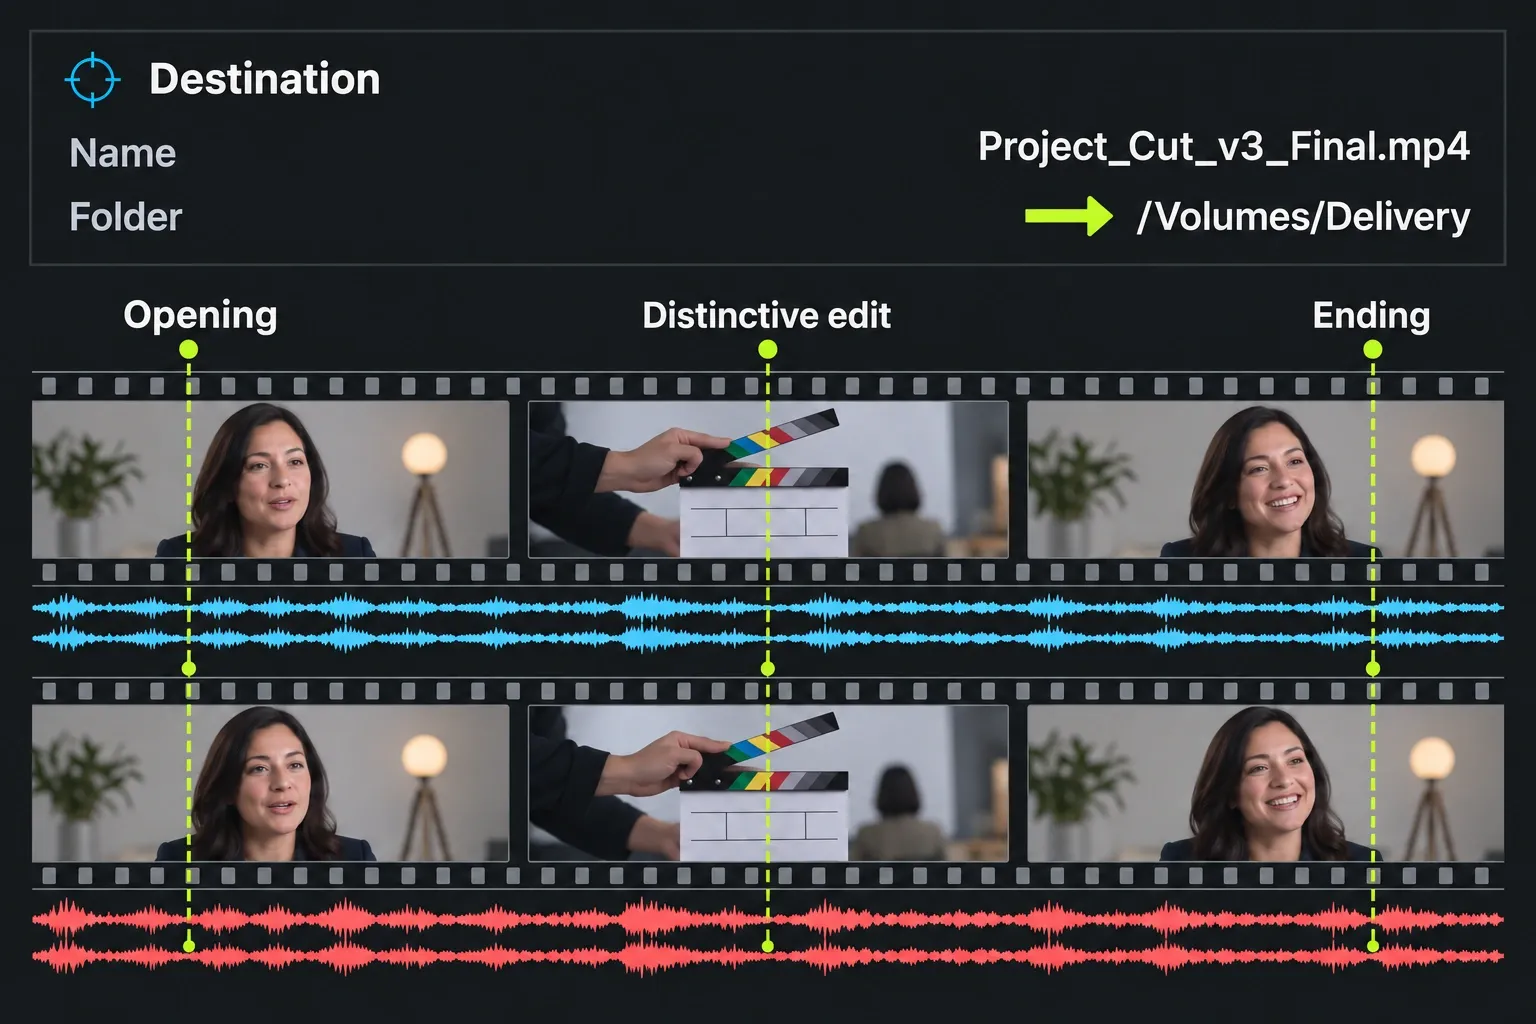
If the newly opened file contains a source clip or an older edit, use the wrong-clip export diagnosis to compare the file, queued object and selected version. If the edit is right and only the quality disappoints, go back to the export settings instead.