
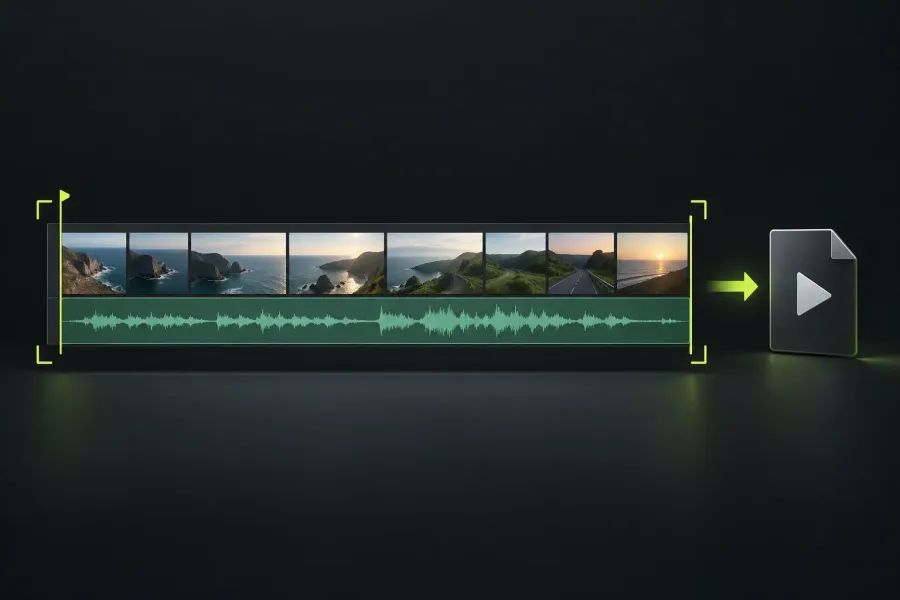
To export video in Lightworks 2026.1, open the finished sequence, use the timeline toolbar’s Tools side menu toggle and choose Export. In the full panel, confirm the source and range, then choose MP4/H.264 with the intended sequence’s size and frame rate, within your licence’s limits. Set Destination → Name and Folder, keep Cloud upload location → None for a local file, and click Start Export. Open that finished file outside Lightworks before sending or uploading it.
I’d make a local file first, even when the destination is YouTube: you can inspect the exact delivery and keep a copy to compare with the platform’s processed version. The steps below use the current combined Export panel. Older tutorials may show different menus and the former 720p Free limit.
Decide which file you need
If you’re looking for “save as MP4”, you need an export. An MP4 is a finished movie for playback; it doesn’t preserve the editable timeline. Keep your project and media for later changes, and use a project backup when you need to restore or move the editable work.
Choose the delivery before adjusting individual controls. A small review copy, a public upload and a finishing master can come from the same sequence but have different requirements.
| Delivery | Sensible starting choice | Decision to settle first |
|---|---|---|
| Review copy | Local MP4 with H.264; whole edit or the requested excerpt. | Does the reviewer need full resolution, a smaller file, or just one section? |
| Web upload | MP4/H.264 at the sequence’s frame rate and the required output size. | Does the platform need landscape, square or portrait framing? |
| Portrait social video | A correctly composed portrait sequence, then a matching portrait export. | Are faces, action and text still visible after reframing? |
| Master for further work | The recipient’s specified container, codec, size, rate and audio layout. | Does your plan include that output, and is the recipient expecting a mix or separate tracks? |
The vendor’s web-delivery guidance recommends MP4 and H.264 for broad compatibility. H.265 and AV1 are alternatives when available and supported by the recipient. For a professional hand-off, obtain the delivery specification first: the professional and broadcast export codecs require Pro, and a routine review preset may not meet that specification.
Select the finished sequence and the correct range
Lightworks can export a sequence, a source clip or a subclip. The viewer showing a familiar shot doesn’t establish which one is queued. For a finished movie, start by identifying the edited sequence and its intended beginning and end.
- Open the intended sequence. Check its name, especially if several edit versions exist. Play the opening and inspect the end of its timeline.
- Open the full Export panel. The current timeline toolbar’s Tools side menu contains Export. Use its toggle to reveal the menu; narrow toolbars may collapse groups into dropdowns.
- Expand Source. Read the queued item’s name and the item count. For one intended sequence, the list should contain that sequence as a single item.
- Correct the list before proceeding. In the Export layout, Clear Export List empties the queue. Select the intended sequence in Project Contents, then use Add to Export List and read the result again.
That last selection matters: Add to Export List uses the source-viewer item when nothing is selected. Reveal Timeline loads the current active sequence into the viewer. If you use it, check the rest of the queue afterwards.
There’s a reason unwanted items can accumulate. In the Export layout, loading a clip or sequence into the viewer automatically adds it to the Source Export list. Reviewing three camera clips can therefore leave more than the final edit queued. The sequence-selection guide explains the distinction if your output keeps showing the camera clip instead of the cut.
Whole edit or marked excerpt?
For the complete movie, choose the whole-item range in Region → Selection and check that it refers to your intended sequence. For an excerpt, mark the range on that sequence’s timeline, then choose Region → Selection → Marked section. The panel places Region below Audio, so scroll down if necessary.
Move the sequence playhead to the requested start and mark in, then to the requested end and mark out. The standard Lightworks mapping uses I for Mark In and O for Mark Out; use your assigned commands if you’ve changed the mapping. Marks on a source clip select part of that camera clip. They aren’t a substitute for marking the finished sequence’s export range.
If the timeline has padding before or after the edit, the current official export walkthrough also offers a range that leaves out leading and trailing black. Use that range for a delivery without the padding, then inspect the first and last intended frames. Check any gaps or deliberate pauses inside the edit separately.
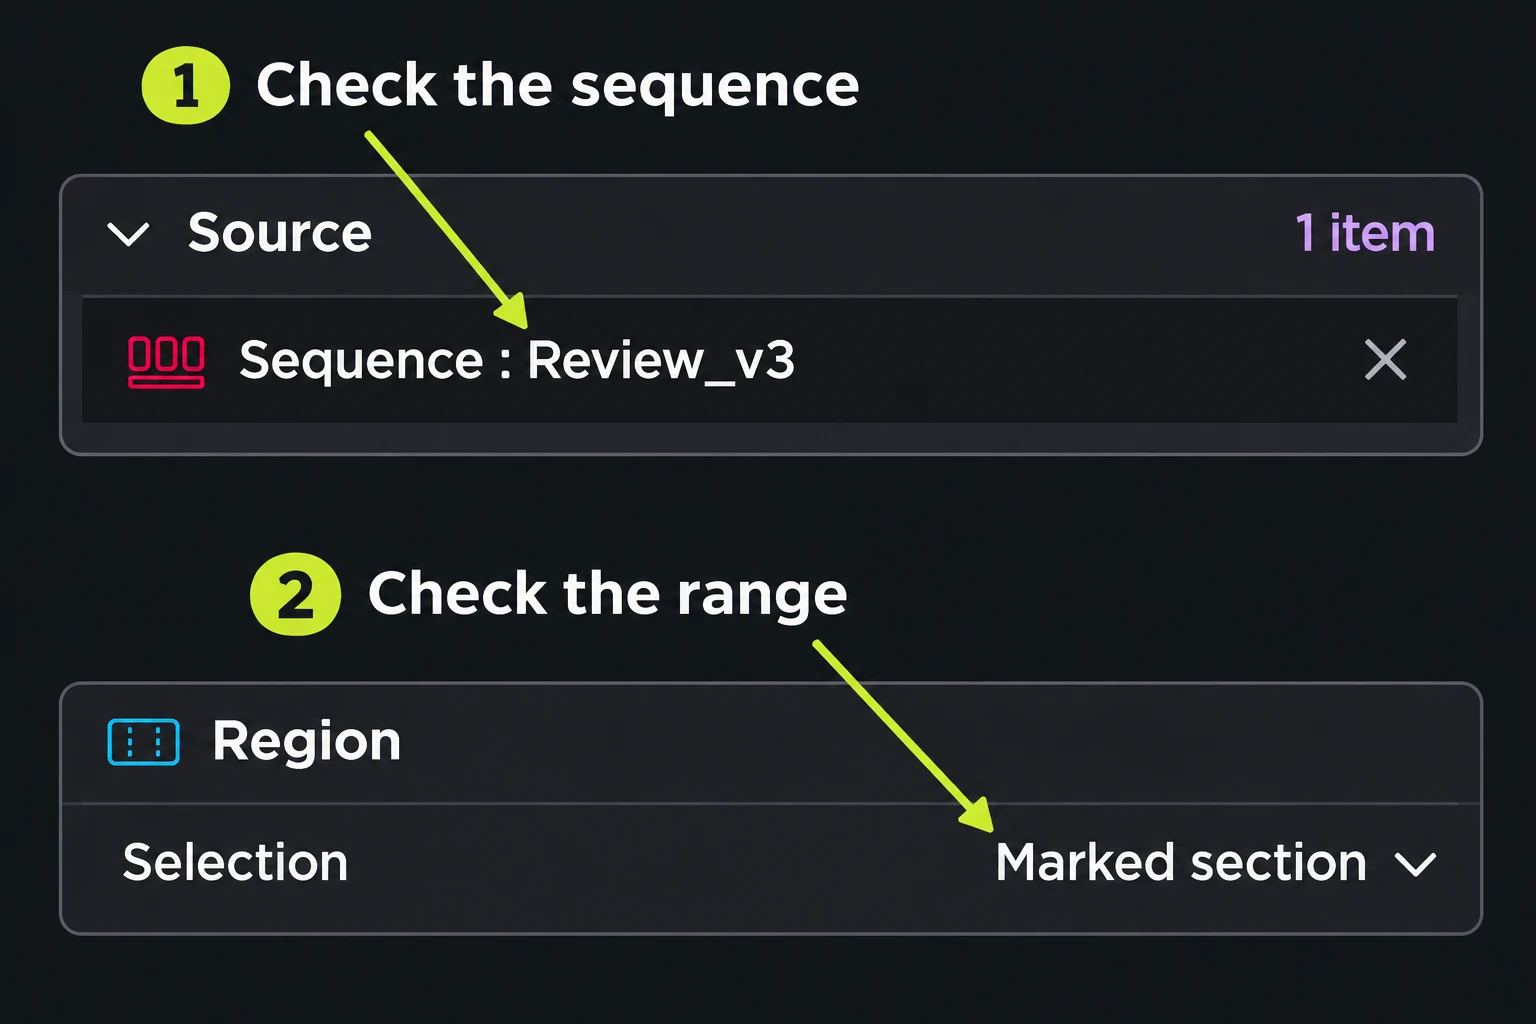
I prefer the full-panel route for a first delivery because the source and range remain visible for inspection. A preset with Auto start enabled begins exporting as soon as you select it, including through the right-click Export menu. Save that shortcut for a delivery you’ve already checked.
Set MP4, H.264, size and frame rate
Start with a system preset that fits the delivery. It fills the settings from the source material. Choose Custom when you need to set them manually; you can save those choices as a user preset for later work. A preset still needs a source, range and destination check.
In Video, inspect these choices:
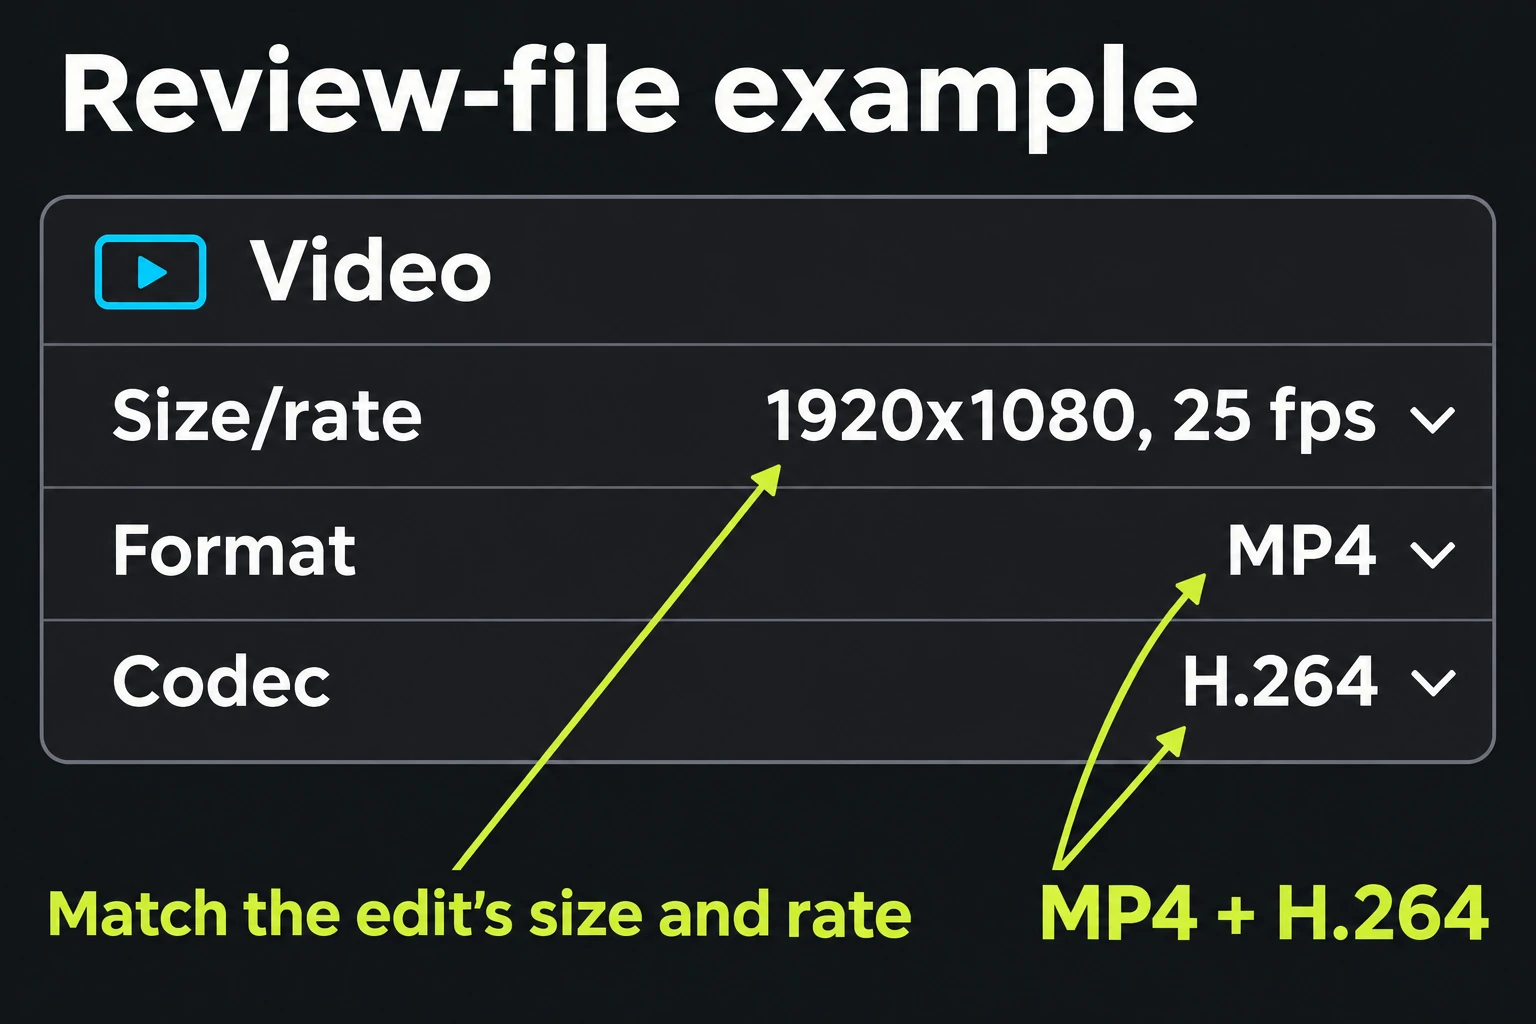
- Format → MP4. This is the container: the file that holds the video and audio.
- Codec → H.264. This is the video compression choice for the broadly compatible local file described here.
- Size/rate. Match the intended sequence’s dimensions and frame rate, unless the delivery calls for a different size or rate and your plan offers it.
For example, suppose the finished sequence is Review_v3, 1920 × 1080 at 25 fps, and the reviewer wants the whole edit. Queue that sequence alone, choose its full range, and inspect MP4/H.264 at 1920 × 1080 and 25 fps. Use a distinctive revision name such as Review_v3_review. Those are example values for that sequence, not settings to copy onto every project.
Source-matching options use the selected export source. Check that source before relying on them: a camera clip and the edited sequence may have different settings. For a finished edit, the normal reference is the sequence’s native size and rate.
Don’t increase 25 fps to 60 fps simply because the number is larger. Lightworks’ upload guidance says to retain the sequence’s frame rate. Likewise, a smaller review file can justify downscaling, while choosing a larger output doesn’t recover detail missing from the source.
Portrait output also needs the right composition. The same social-delivery guide supports square and portrait formats and Reframe for landscape material. Check the sequence’s shape and reposition shots before export; then inspect the output framing. Selecting a portrait size at the end doesn’t settle whether the subject or titles fit.
Choose quality with the delivery in mind
Within a comparable encoding setup, reducing bitrate reduces file size but can damage movement and fine detail. I’d export a short representative section before a long delivery, including fast movement, detailed texture and any important titles. Watch that file at the size the recipient will use.
Manual H.264 bitrate controls are a plan-specific feature. The H.264 bitrate configuration row lists variable/constant and minimum/maximum controls for Pro. Free and Create users should work with their available preset choices rather than search for controls shown in a Pro tutorial.
If the recipient sets a file-size limit, duration matters as well as resolution. A useful estimate in decimal units is file size in MB ≈ combined average video-and-audio bitrate in Mb/s × duration in seconds ÷ 8. As an arithmetic example, two minutes at a combined average 10 Mb/s is about 150 MB, before container overhead. That’s a size estimate, not a recommended encoding target. Leave room beneath a strict upload limit and check the finished file’s actual size and picture quality.
Check the plan and version when an option is missing
The current export-resolution comparison lists Free up to 1080p, Create up to 4K and Pro up to 8K. These are plan ceilings; use the size required by the delivery and supported by the chosen output.
In Lightworks 2026.1, Free supports portrait and 1080p export. An older tutorial’s 720p limit is therefore the wrong basis for deciding whether the current Free plan meets a 1080p request. If you still see only lower resolutions, check the installed version, active licence and selected export target before changing plans.
Before opening existing work in a newer major version, back up the project and check the operating-system requirements. The 2026.1 release notes warn about reopening projects in an older version. If the active 2026.1 build still offers less than the stated plan limit, resolve that mismatch with LWKS rather than paying solely to bypass an unexplained restriction.
The pricing table’s proxy-size row describes editing media, not final export resolution. Use the export row for delivery limits; the resolution-limit guide separates those checks.
Check originals, picture, audio and subtitles
Reconnect the originals before final delivery
Lightworks normally exports from the original full-resolution media. Its proxy guide warns that offline originals cause export to fall back to available media. Confirm that every original used by the sequence is online, and reconnect or relink missing files before making a master.
Smooth proxy playback isn’t that check. Proxies are easier-to-play stand-ins, so the edit can play well while an original drive is disconnected. Raising the export resolution won’t correct a delivery made from the wrong available media.
Check the intended mix and monitored picture
An export follows the timeline’s monitoring choices: video Monitor/Solo and mixed-audio Mute/Solo states are respected. Check for a video track switched off during editing, an audio track left muted, or a solo that isolates only part of the mix. This also matters when exporting a sequence directly from a bin.
For an ordinary stereo movie, inspect Audio → Audio tracks → Stereo track (from LR mix) and the embedded-audio choice. Listen to dialogue against music and effects, and check that the mixer’s master isn’t clipping. If the recipient requests separate tracks or stems, settle that layout separately: the individual-track export options include muted tracks, so a muted track in your review mix can still appear in that different delivery.
Make the subtitle choice explicit
For subtitles burned into the picture, both conditions matter: monitor the subtitle track and enable Subtitles under Overlays in the Export panel. The current export guide specifies both switches. Seeing the text while editing alone isn’t the complete export check.
Burned-in text becomes part of the movie picture. Decide whether that is what the recipient needs, then check readability and timing in the exported file. Keep a separate clean delivery if one is required; don’t assume the viewer can turn burned-in captions off.
Set the destination, start and check the exact file
Before clicking Start Export, expand Destination. Set a deliberate Name and a Folder you can find, with enough free space for the output. For a local delivery, set Cloud upload location → None. Keep the last checked delivery while you make and review the new revision.
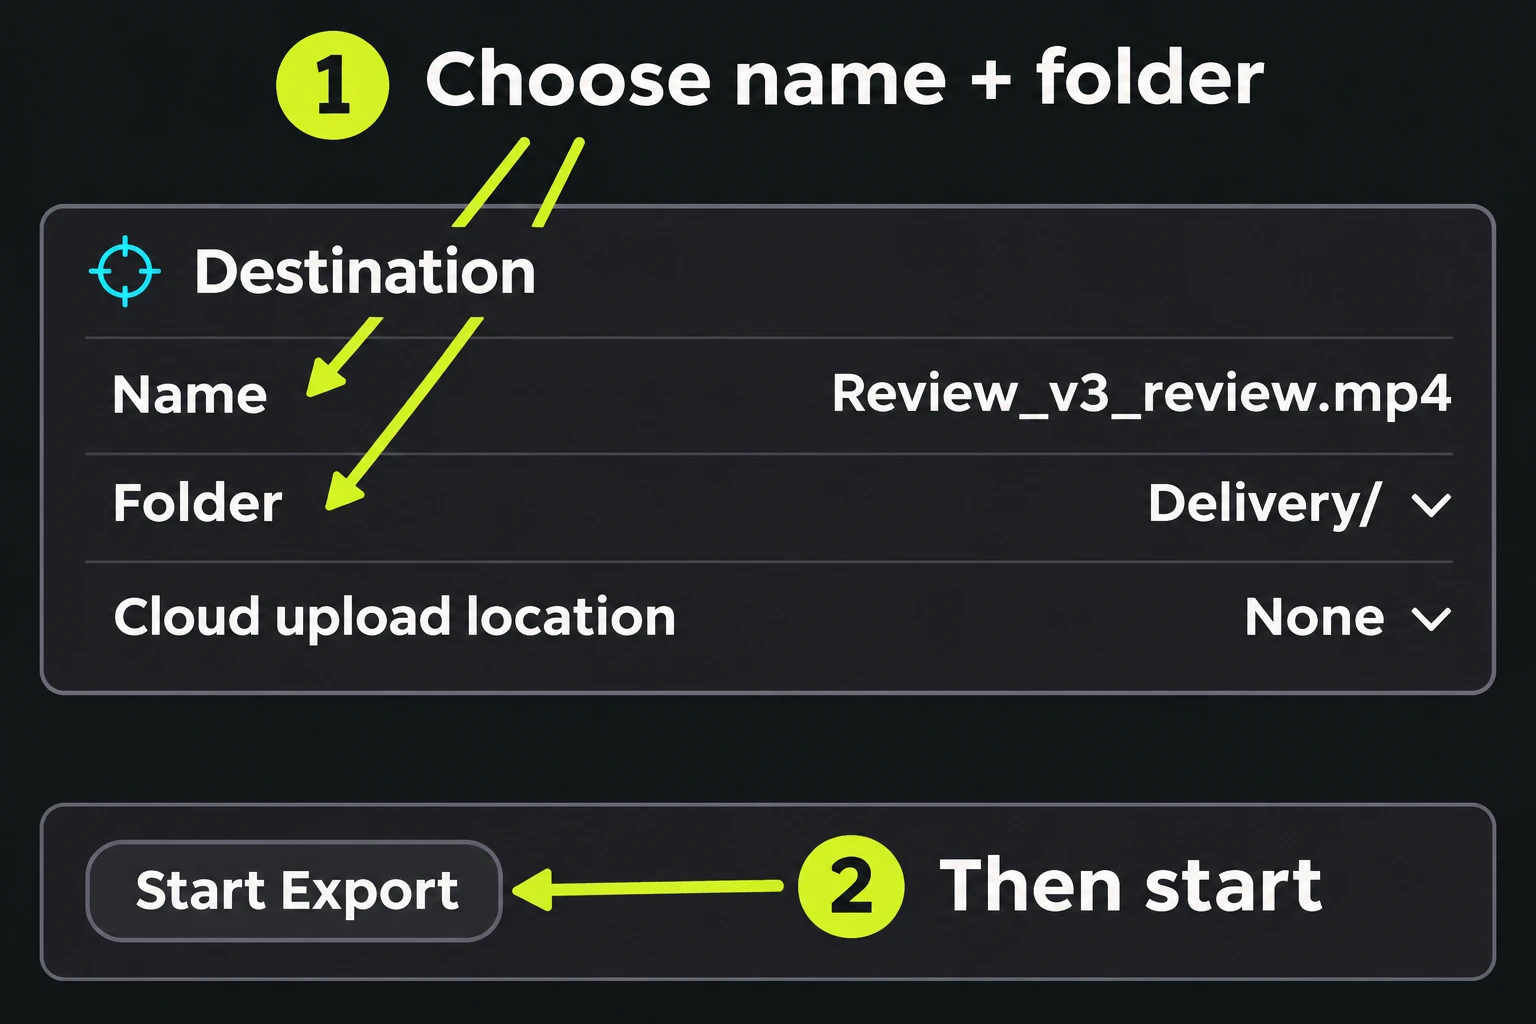
Recheck the source count, whole-edit or marked range, Video choices, audio and subtitles, then click Start Export. The export runs as a background task. In project settings, Tasks shows running, pending and paused jobs; Tasks Log records completed work. The task guide also requires work to finish or be aborted before leaving the project.
A completed task tells you the render finished. Now inspect what it produced:
- Open the exact named output from the chosen folder. Use the player’s media information or file properties to check duration, pixel dimensions and frame rate. The filename alone won’t establish them.
- Check the first and last intended frames. Confirm that the result contains the requested whole edit or excerpt, with no unwanted tail.
- Play the complete file outside Lightworks. Check picture, dialogue, music, sync, framing and any subtitles. The vendor’s delivery checklist calls for end-to-end playback.
- Revisit the demanding sections. Inspect motion and fine detail for compression damage, and listen to the loudest passage for distortion. If a change is needed, compare a short export before rendering the full revision.
- Send or upload that checked revision. Retain the local file so you can distinguish a problem in the export from one introduced by the upload or platform processing.
If the file looks wrong in one player, I’d compare it in another before changing the edit or grade. That comparison gives you a narrower next step than immediately altering export settings.
If the export is wrong, start with the matching check
| What happened | Next check |
|---|---|
| Camera clip or wrong edit exported | Read the Source name and count. Clear the unwanted queue, select the intended sequence and add it explicitly. |
| Only part of the edit, or an unwanted tail | Check Region → Selection, the sequence’s marks, and its intended end. Compare the file’s duration and opening/ending with that range. |
| No sound or part of the mix missing | Inspect the selected audio output and timeline/mixer Mute/Solo states. Follow the missing-export-audio checks if the mix still differs. |
| Black or missing picture | Check video Monitor/Solo and original-media availability, then inspect the affected position using the black-video guide. |
| Subtitles missing | Check the subtitle track’s monitoring state and Overlays → Subtitles, then export the affected excerpt again. |
| Soft or broken-up picture | Check actual output dimensions, online originals and quality choices. Compare a short demanding section before repeating the full delivery. |
| Resolution or codec missing | Check installed version, active plan and export target against the current plan limits. |
| Task fails | Read the reported error. Reconnect offline originals, free destination space or inspect the named clip as appropriate; use the export-failure isolation guide for a repeatable failure. |
If you cancel a render, check whether the prompt refers to the selected task or all tasks. Aborting an export discards that render; wait for the intended replacement to complete and review its file before delivery.