

To remove audio from a video in Lightworks without moving the picture, lock the picture tracks, select only the audio, then right-click it and choose Remove. With Clip Link on, Alt-click the audio to select it independently for that click; with Clip Link off, click it normally. For reversible silence, deactivate the selected audio or mute a track containing only sound you want silenced. I'd start with deactivation when replacing a soundtrack, because the original sound remains available for reference.
Remove leaves silence in the timeline; it does not erase the original media file. Delete is a ripple edit whose effect depends on the targeted tracks and the material around the cut. Use Remove when later picture, dialogue or music must retain its timing. The Lightworks selection and editing guide explains both commands and the Clip Link override.
Choose mute, remove or delete
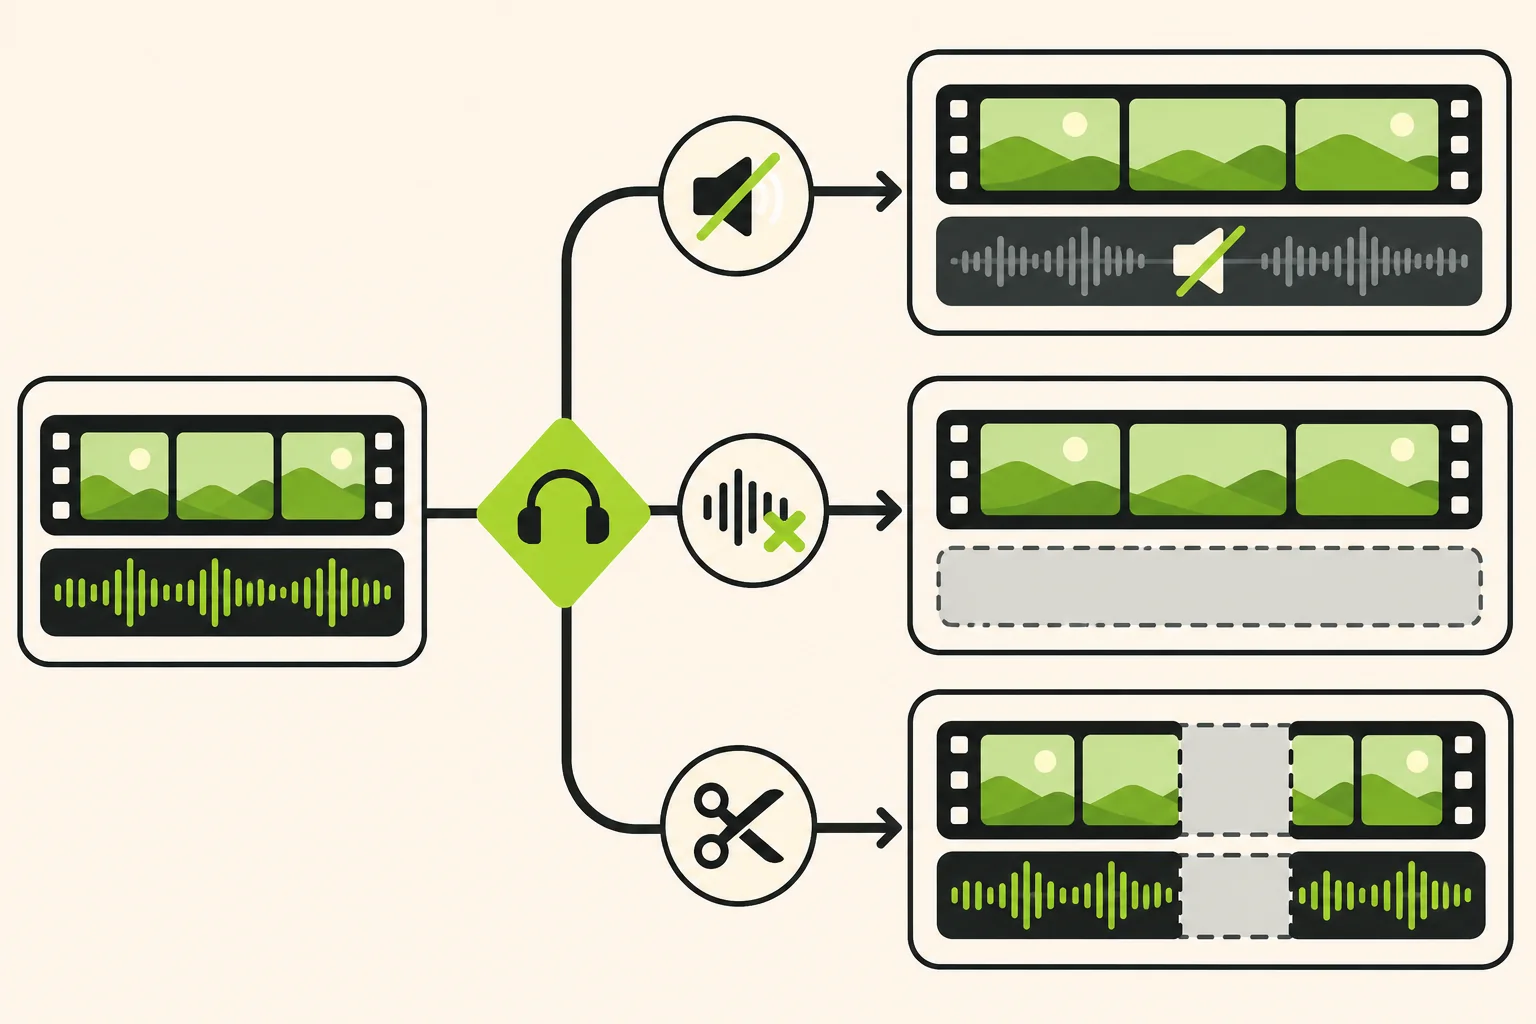
The result you want determines the safe command:
| Your result | Use | What stays |
|---|---|---|
| Temporarily silence one audio segment | Select only the audio, then right-click it and choose Deactivate | The segment remains in place and can be reactivated with its trims and effects. |
| Silence an entire dedicated audio track for the mix | Use the track's Mute control or switch its monitor off | The audio remains in the timeline for later editing. |
| Remove the sound but preserve the timing | Lock the tracks you need to protect, select only the audio, then right-click and choose Remove | The video and the downstream timing stay in place; the audio lane has a gap. |
| Intentionally tighten the timeline | Choose Delete with the intended tracks targeted | Ripple depends on the black available across those tracks. Locked tracks remain protected; check sync and the new cut. |
Delete closes only the time that the targeted tracks can give up together. If another targeted track contains material at that position, the sequence can retain its length. Remove leaves a gap instead, making it the clearer choice for an audio-only removal that must preserve timing. Save a project version before either edit.
Mute audio without removing it
Use this route when you are testing a cut, replacing a line later or keeping the original sound as a reference.
- Open the intended sequence. Confirm that you are looking at the sequence, not only a source clip. Park on a passage where the audio is obvious.
- Record the current state. Note which audio tracks are monitored, muted or soloed. Save a project version before changing an established edit.
- Mute a complete track only when everything on it should be silent. Use the audio track's mute or monitor control. If wanted music or dialogue shares that track, deactivate the unwanted segment instead.
- Deactivate one segment when the silence is local. Lock the picture track with its track-header Lock button. Use ordinary segment selection with the timeline's Cut and Selection tools inactive. With Clip Link on, Alt-click the audio; with it off, click normally. Check that only the unwanted audio is highlighted, then right-click that selection and choose Deactivate. This keeps its trims and effects. Choose Activate the same way to restore it.
- Play the sequence again. Check the intended passage and the LR mix. Restore the original lock and Clip Link states after the edit, and restore any Mute or Solo choice used only for diagnosis.
Mute and solo states matter to a mixed export: the current Export overview says that mixed audio output respects timeline or mixer Mute and Solo. Separate track or stem outputs are a different case and can still include muted tracks, so do not infer a silent stem from a silent mix.
Remove audio from one clip
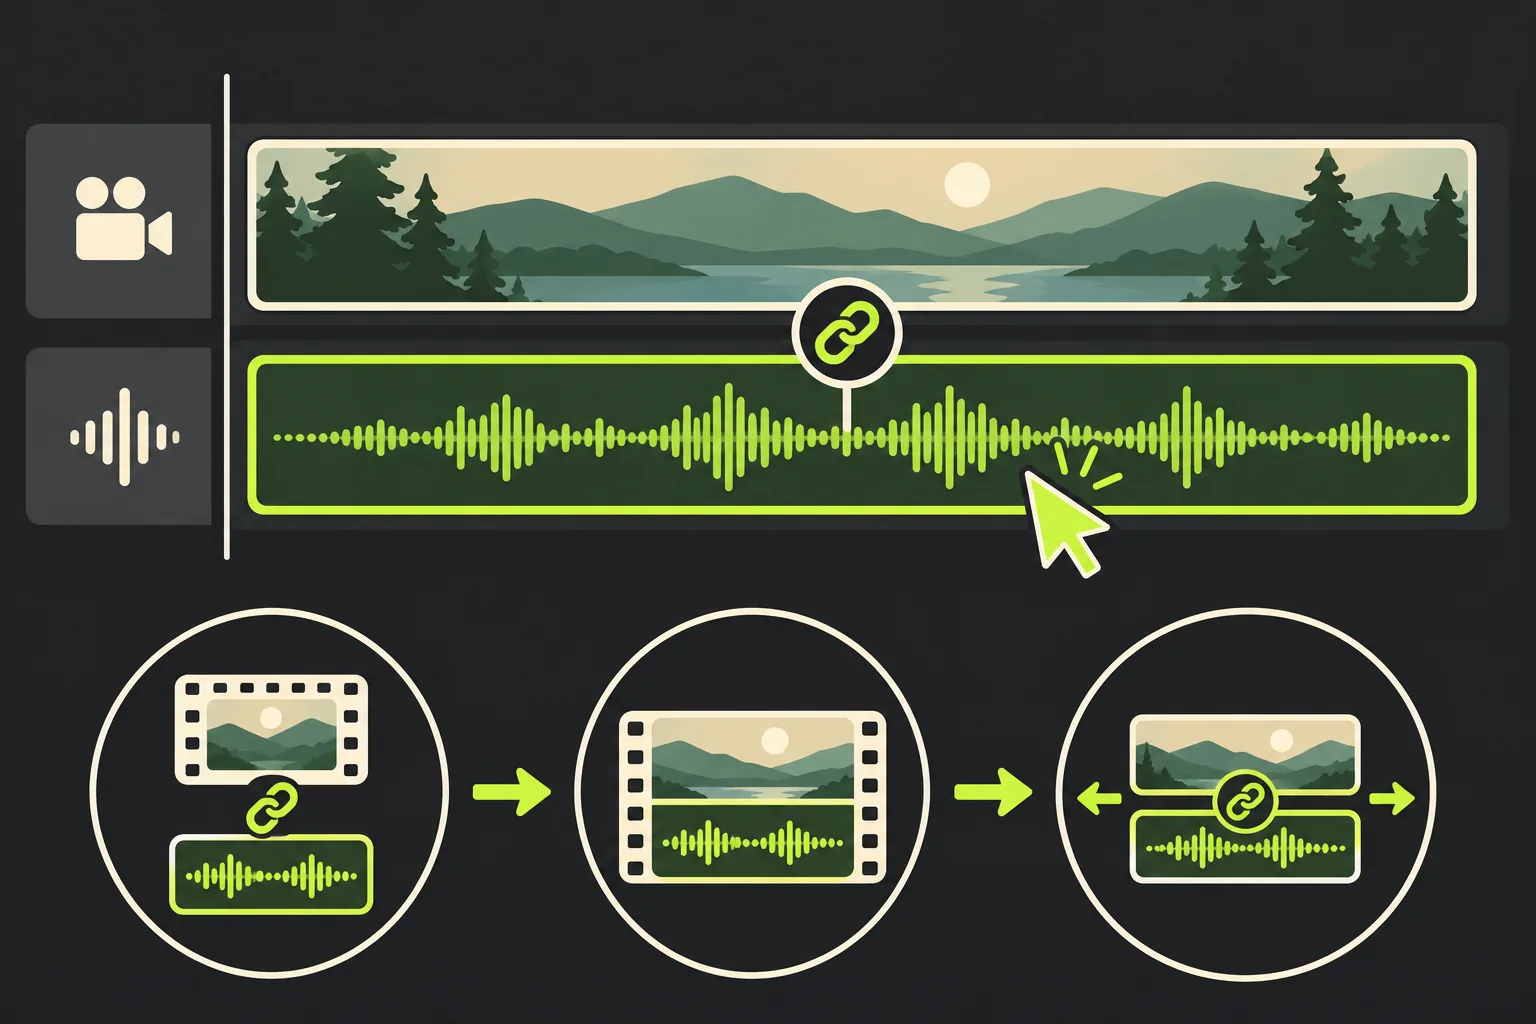
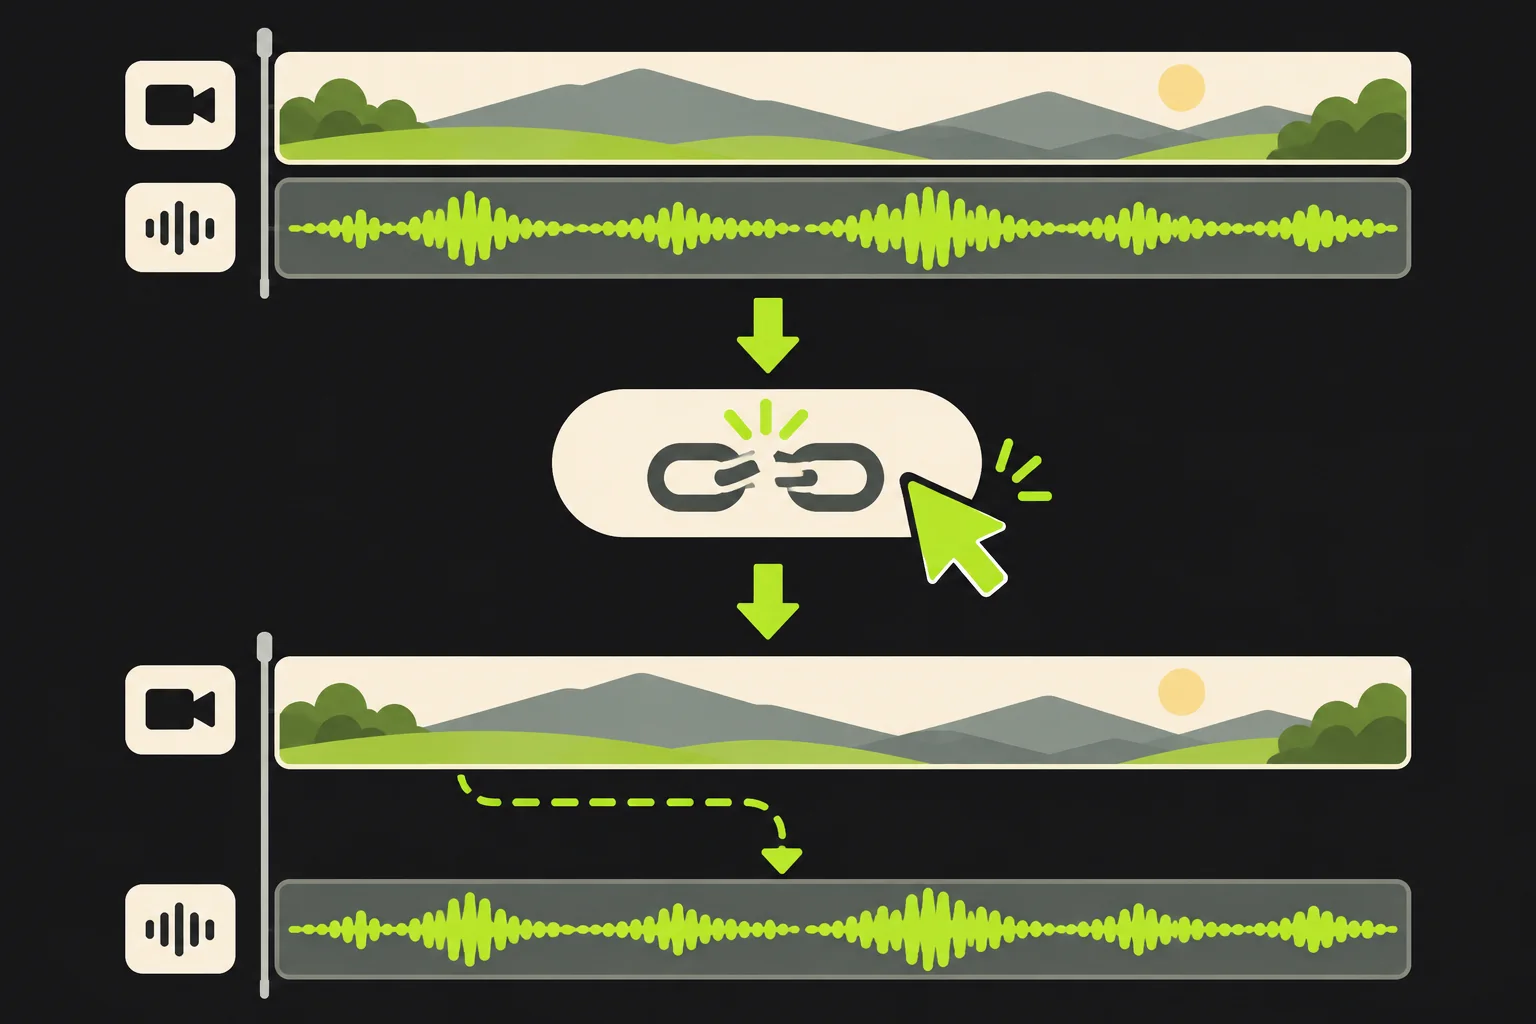
When the video and audio are linked, selecting the clip normally selects both. The current audio-editing guidance says to hold Alt while clicking to invert Clip Link for that one click; with Clip Link off, select the audio segment directly.
- Protect the picture and wanted sound. Click Lock in the headers of the picture tracks and any music or dialogue tracks that must stay untouched. A locked track cannot be selected or rippled. Track targeting alone is not protection; the timeline track-header guide distinguishes these controls.
- Select only the audio. Use ordinary segment selection with the timeline's Cut and Selection tools inactive. With Clip Link on, hold Alt and click the audio segment. With Clip Link off, click it normally; Alt would reverse that setting. Check the highlighted selection before proceeding. Grouped stereo tracks still behave as a pair.
- Remove the selected audio. Right-click it and choose Remove to leave silence at the same time position. Use Delete only for an intentional ripple edit after checking the targeted tracks; it is unnecessary for a silent video.
- Play across the boundary. Listen before and after the removed section. Confirm the picture frame and remaining music or dialogue are still in place, then restore the original track locks and Clip Link setting.
Remove or silence audio across a sequence
For a silent sequence mix, mute the tracks containing the unwanted sound and keep any replacement music or dialogue on an unmuted track. Replay from beginning to end to catch audio on other tracks. If the unwanted segments must leave the timeline, lock the picture and wanted sound, make an audio-only selection, then use Remove. Keep a version with the original audio until the delivered file has been checked.
Keep Clip Link and Track Sync concepts separate. Clip Link controls whether a video clip and its associated audio are selected and moved together. Track Sync helps keep other tracks in step when material moves. The current Sequences and timelines guidance distinguishes those controls, so check both before a multi-track delete. If the picture must stay fixed, lock its tracks before the edit.
If the task is really to replace the soundtrack, leave the picture in place, add or select the replacement audio track, and audition the full passage before export. That is different from diagnosing missing imported sound; for that case use the Lightworks no-audio checks.
Verify the silent export
Silencing the timeline and delivering a silent file are related but separate checks.
- Export the intended item. Open the intended sequence, then choose Export from the timeline's Tools side menu. Make sure the Export Source list contains the right sequence, clip or subclip. The current Export panel can hold several sources, so remove an unintended item before starting.
- Check the mix state. Replay the passage with the same Mute, Solo and monitor choices you intend to deliver. If you are exporting separate audio tracks, verify those tracks independently.
- Run a short test first. The official Batch Export and Background Tasks guide recommends checking a short export before queuing a larger delivery. Use a short section with obvious picture and the intended silence. After the test, restore the full delivery range or its intended In/Out marks before the final export.
- Inspect the finished file. Open it in a second player. If it has no audio stream, the export is silent by design; if a stream exists but playback is silent, compare the file with the intended mix. For an export that unexpectedly loses sound, follow the export-no-audio diagnosis rather than deleting more timeline material.
Mistakes that change the picture
- Muting a source clip instead of the sequence. Source and sequence are different contexts. Return to the intended sequence before judging the mix.
- Deleting a linked clip. Delete and Remove can take linked picture with the audio. With Clip Link on, Alt-click the audio first; with it off, click normally. Confirm the selection before the context command.
- Closing a gap by accident. Delete can pull later material earlier, depending on the targeted tracks. Remove leaves a gap and preserves timing.
- Assuming a monitor state is a permanent audio edit. A muted track can still exist in the project and may still appear in a separate-track export.
- Repairing the wrong problem. A missing imported waveform, a silent mixer route and an intentional silent delivery need different checks.
For a silent video, keep the timing fixed and check the exported file before discarding a useful timeline version. Deactivation is enough when the sound may return. Use Remove when the audio segments must leave the edit; the original source files remain intact.