
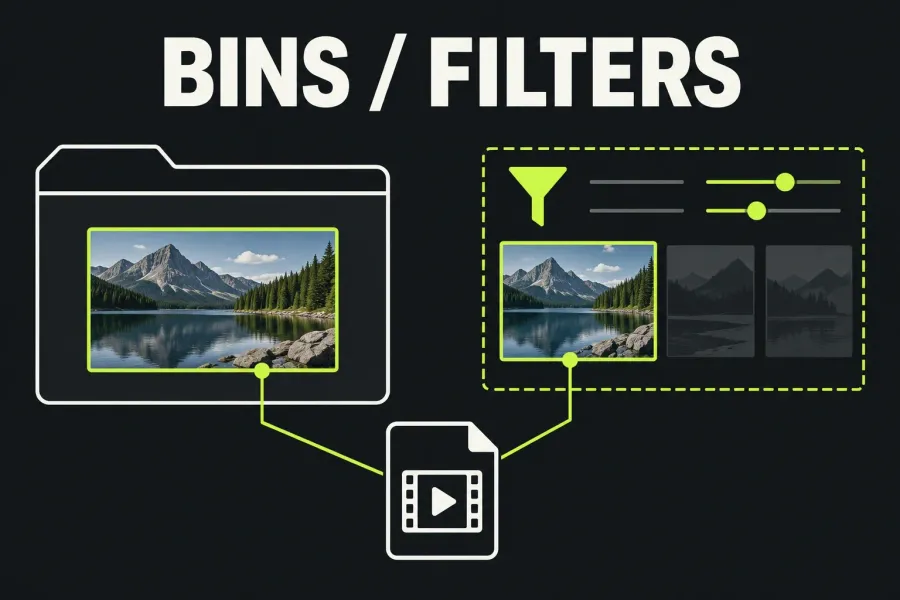
A Bin holds the clips you choose. A Collection shows project clips that match a rule. Use a bin for an editorial selection such as “Interview selects”; use a collection or search to find matching material across bins. Neither view is a separate folder of footage on your drive.
If you learned Lightworks through older tutorials, you probably know collections as Filters. The 2025.2 release notes record the change from Filters to Collections. The steps below use the current knowledge-base names, so match them to the controls in your installed build instead of an old tutorial's menu path.
Choose by the question you need to answer
The useful distinction is manual membership versus matching properties. Lightworks documents bins as containers you fill by hand and collections as saved filters: a matching project clip appears when you select its collection.
- “Which shots do I want for this edit?” — Bin. Put your chosen takes into “Interview selects”, “Opening options” or another named selection. A matching filename alone does not decide whether a shot belongs there.
- “Which clips have this name, date or media property?” — Search or Collection. Retrieve matching material without rearranging its existing bins. Save a recurring rule when you need that view again.
- “Where did I file that clip?” — All Media. This built-in collection shows every clip in the current project regardless of bin membership.
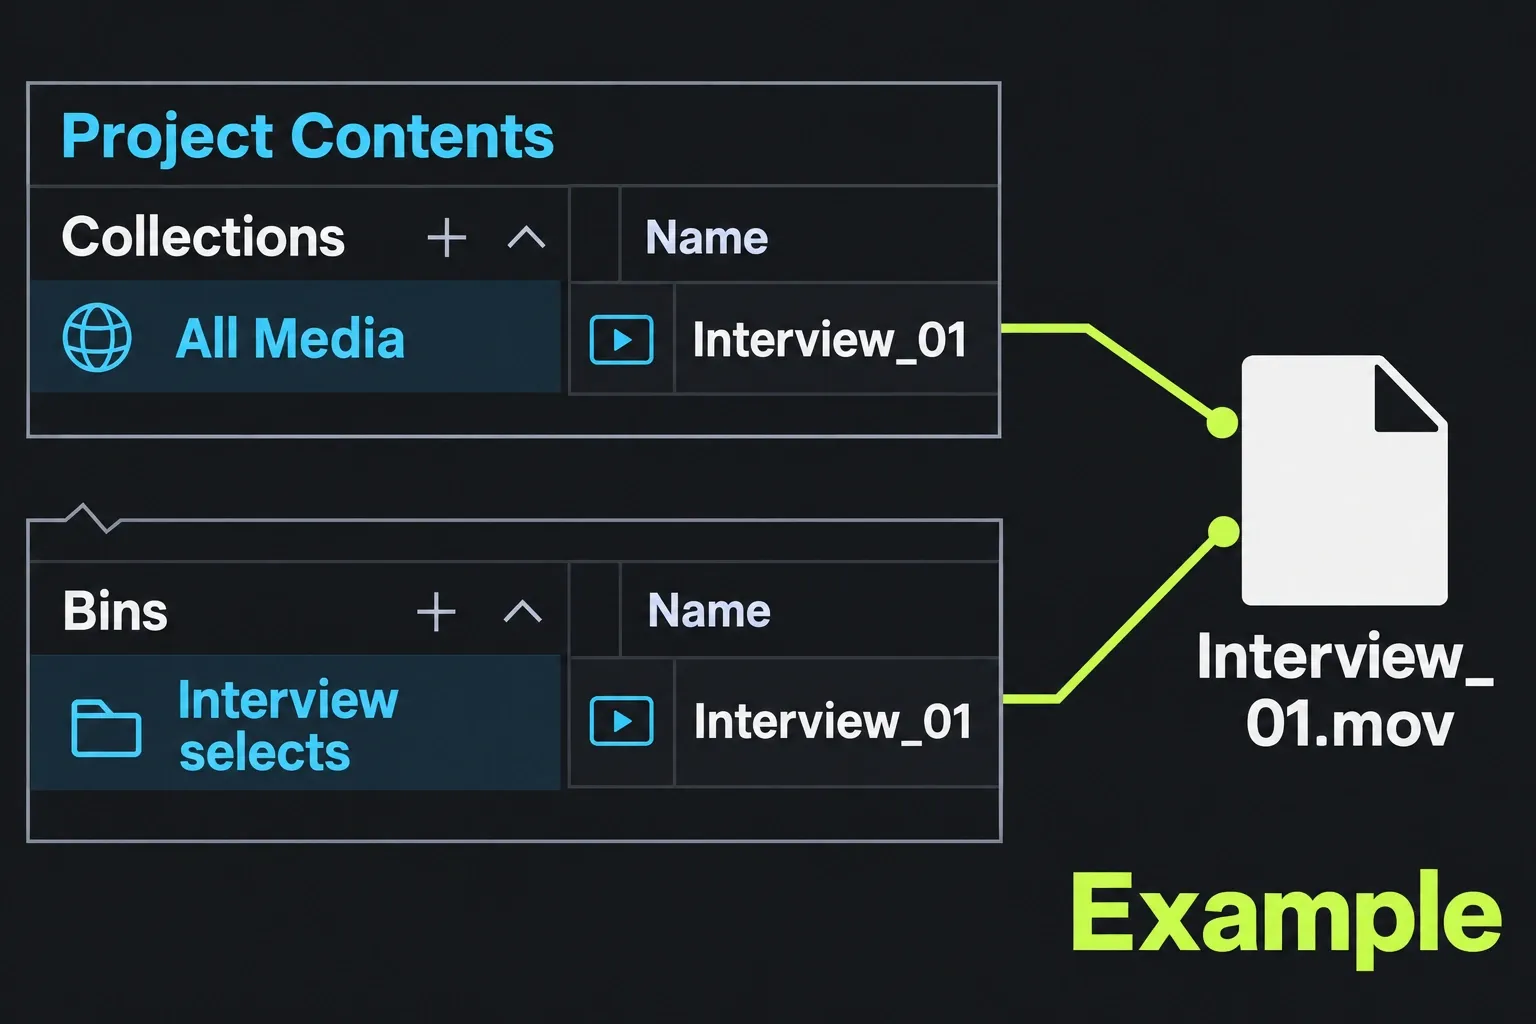
For example, suppose your project contains a clip named Interview_01, referring to Interview_01.mov. It appears in All Media. A collection whose name rule matches “Interview_” can show it too. If you choose that take for the edit, add it to “Interview selects”. You now have several ways to find the same project clip, with one underlying file.
Find a clip before reimporting it
When a bin looks empty or a clip disappears from a collection, first confirm that you are in the intended project, then select All Media. If the clip is there, the project still contains it; work out which bin membership or search rule excluded it from the other view before importing another copy.
For a search, check whether its scope is the whole project or only the current bin. A collection can also be set to Always or Hide when empty. So a missing collection entry may only be hidden; it doesn't mean its footage was deleted.
A visible clip marked offline is a different problem. A clip goes offline when Lightworks cannot find its media file; moving it between bins doesn't restore that file connection. Use the Lightworks media-offline guide for locating and relinking the source. If the clip is absent from All Media as well, check the project and what was removed before treating the problem as missing footage on disk.
Create and fill a bin
For a manual selection, the documented creation control is the + button on the Bins heading. Creating an empty container is only the first step:
- Click + on the Bins heading to create a bin. Give it a name that states its purpose, such as “Interview selects”. The name is a label; renaming the bin does not change its clips.
- Open All Media, a collection, a search result or an existing bin, and select the clips you want.
- Drag those selected clips onto your destination bin in the Project Navigator. Open the destination and check its contents.
If the clips are already selected, I'd use Bin from selection, because it creates the bin from that selection in one step. Right-clicking the Bins + offers quick creation options. Older “Make” menu instructions don't apply to every build.
A clip can belong to more than one bin. When the source membership matters, I'd use the explicit Copy To or Move To commands, since dragging usually only adds a reference. Sorting by name or date changes the display order; the clip stays in the same bin.
Build a reusable rule
If the task is retrieval rather than choosing shots, the Search panel supports clip properties and project-wide or current-bin scope. Quick search matches text fields; detailed search lets you choose attributes and matching conditions.
- Open Search and use the Assets tab for clips and source material.
- For the example above, use a detailed text criterion such as Name contains Interview_. Set the scope to the whole project if you want matching clips across bins.
- Review the results. This rule finds names, so it is useful only if those names identify the material you need; it does not judge which interview take is best.
- If you want to reuse that rule as a collection, choose Create collection from search results.
Saved searches offer a separate choice. Make Search Active tells a saved search to re-evaluate when you select it, including new matching project clips. Make Search Static freezes its results at that point. My default is an active search for any view that should pick up newly added material. Static results suit a saved selection from a particular stage of the edit.
A static search freezes a result set; it doesn't archive the media files. Clips you choose and maintain by hand belong in a clearly named bin, while a repeatable property question stays a rule-based view.
Copy or move between bins
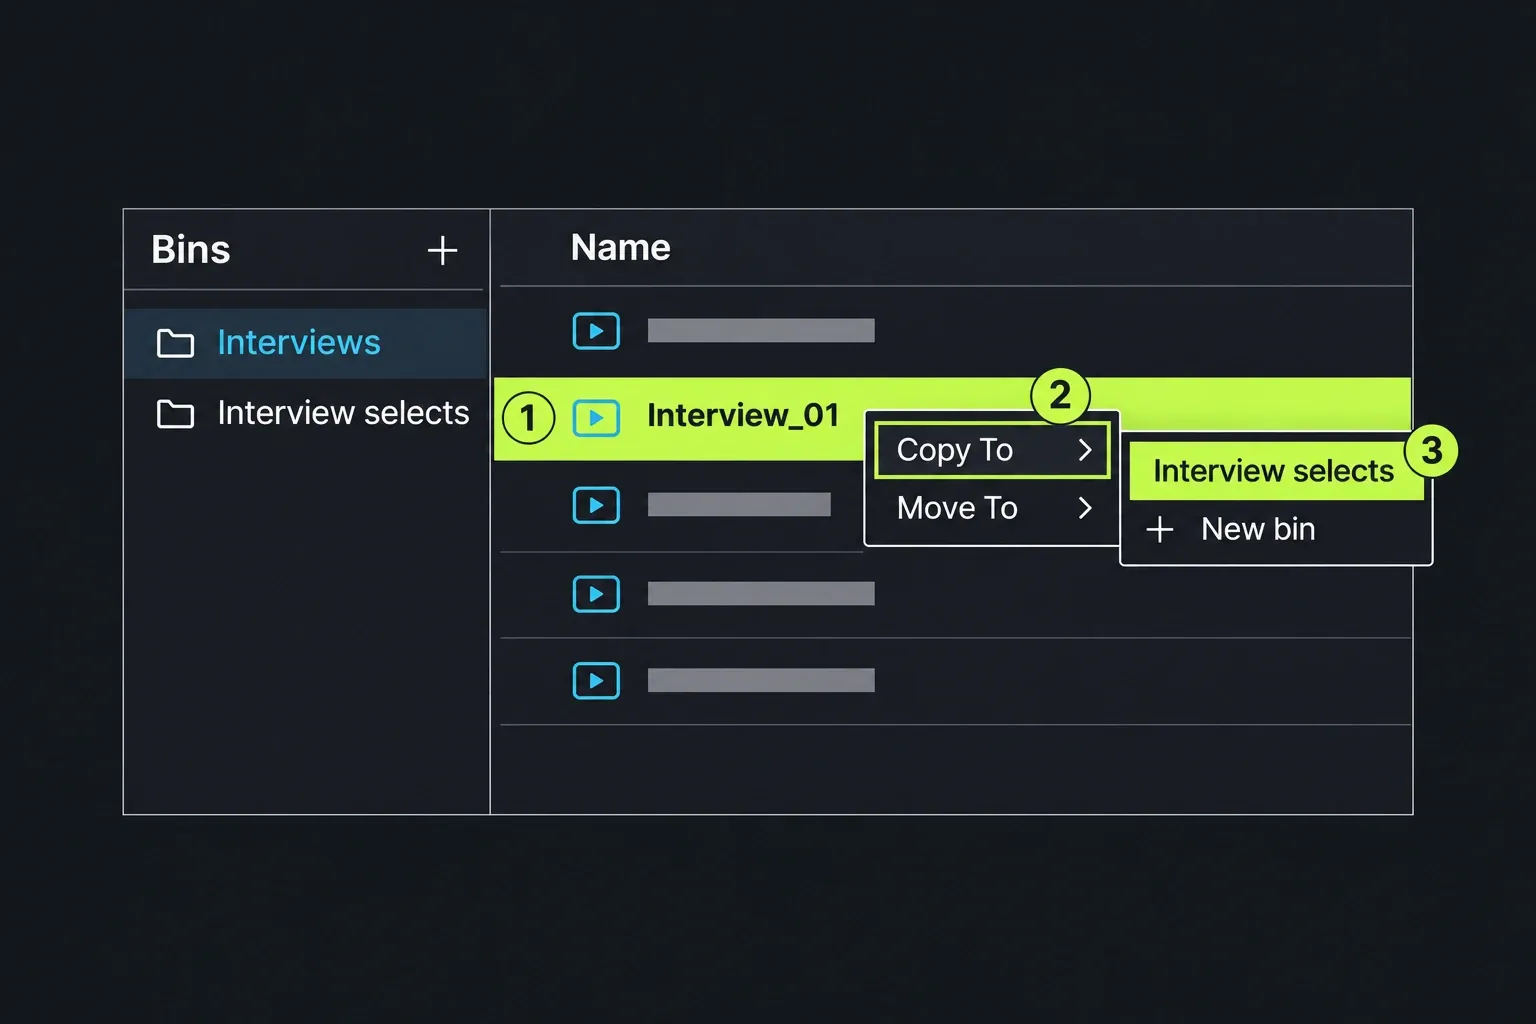
Select the clips, right-click and choose the operation that matches your intention. Lightworks distinguishes Copy To from Move To:
- Copy To adds the clips to the target without removing them from their current location. Choose this when “Interview selects” should coexist with your original interview bin.
- Move To relocates the clips to the target and removes them from the current bin. Choose this when correcting where those clips were filed.
Within one project, these operations work with references and do not duplicate the underlying media on disk. Moving to another project has a different boundary: Lightworks copies the clip's log and metadata into the destination, while media may be shared or copied depending on its location. I'd read its confirmation before any media copy, since the within-project rule doesn't carry over to a project transfer.
Remove only what you mean to remove
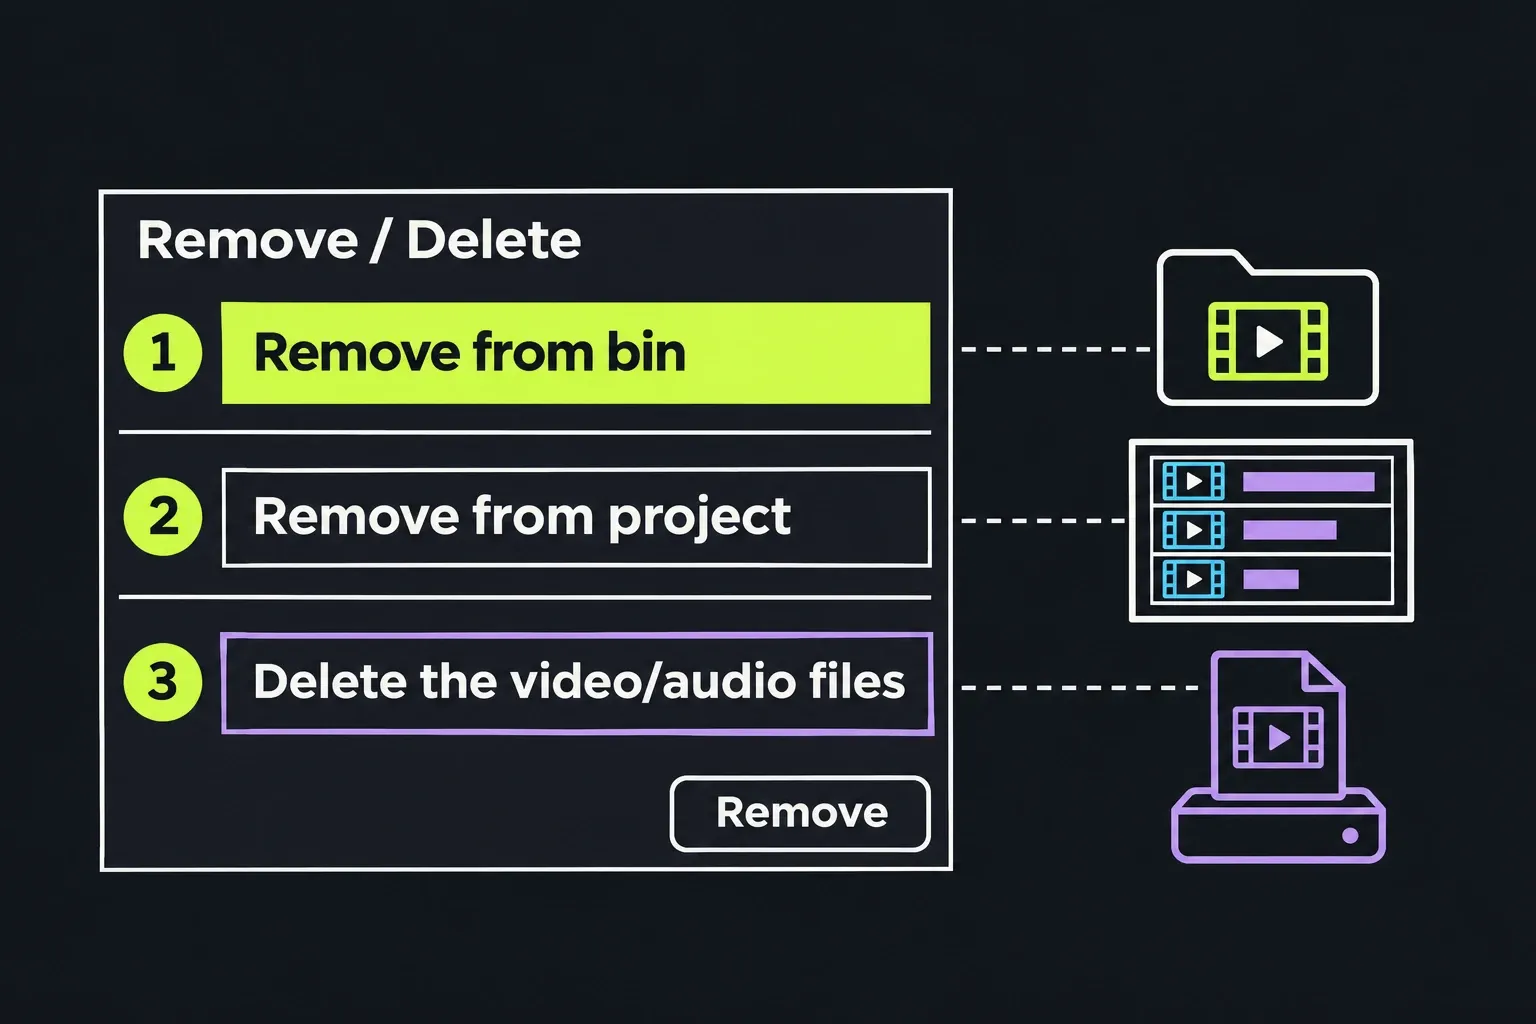
Cleaning up a selection is where the distinction matters most. The Remove / Delete panel separates bin membership, the project log and actual media files. Read its affected-items summary before confirming:
- Remove from bin takes the clip out of the current bin only. Use this when a take no longer belongs in “Interview selects”.
- Remove from project removes the clip's log and metadata from the project entirely. That action alone does not delete the media file on disk, but it goes much further than tidying one bin.
- Delete the video/audio files deletes actual media on disk. Treat it as irreversible file deletion; an organization cleanup is not a reason to choose it.
Deleting a user-created collection with Delete selected collection, or deleting a saved search, removes that organizing tool rather than its clips or media. Deleting a bin prompts you to decide what to do with its contents, so read that choice instead of assuming every Delete command has the same scope.
For an untidy project, my order is All Media first, because it shows every clip whatever its bin, then one useful rule-based view, then a named bin for the chosen shots. Keep file deletion out of that cleanup unless you deliberately intend to remove the footage and have a restorable archive.